Three Days in Cabuyao, Laguna: Life in the Philippine Countryside Series

Day 1 – Jan. 24, 2016 – (Sunday): The Call of Cabuyao, Laguna

Old habits are hard to eliminate; two of mine are bicycling and swimming.  These activities,  thankfully, had tempered the late effects of polio on my left leg- an affliction that I got when I was about three years old.

Laguna, particularly Barrio Pansol, had been my swimming locale of choice after I graduated from college and dropped out of medical school.  My life was at a crossroads, and I spent a great deal of time contemplating the whys and what-ifs of life in the healing waters of Laguna Hot Springs.

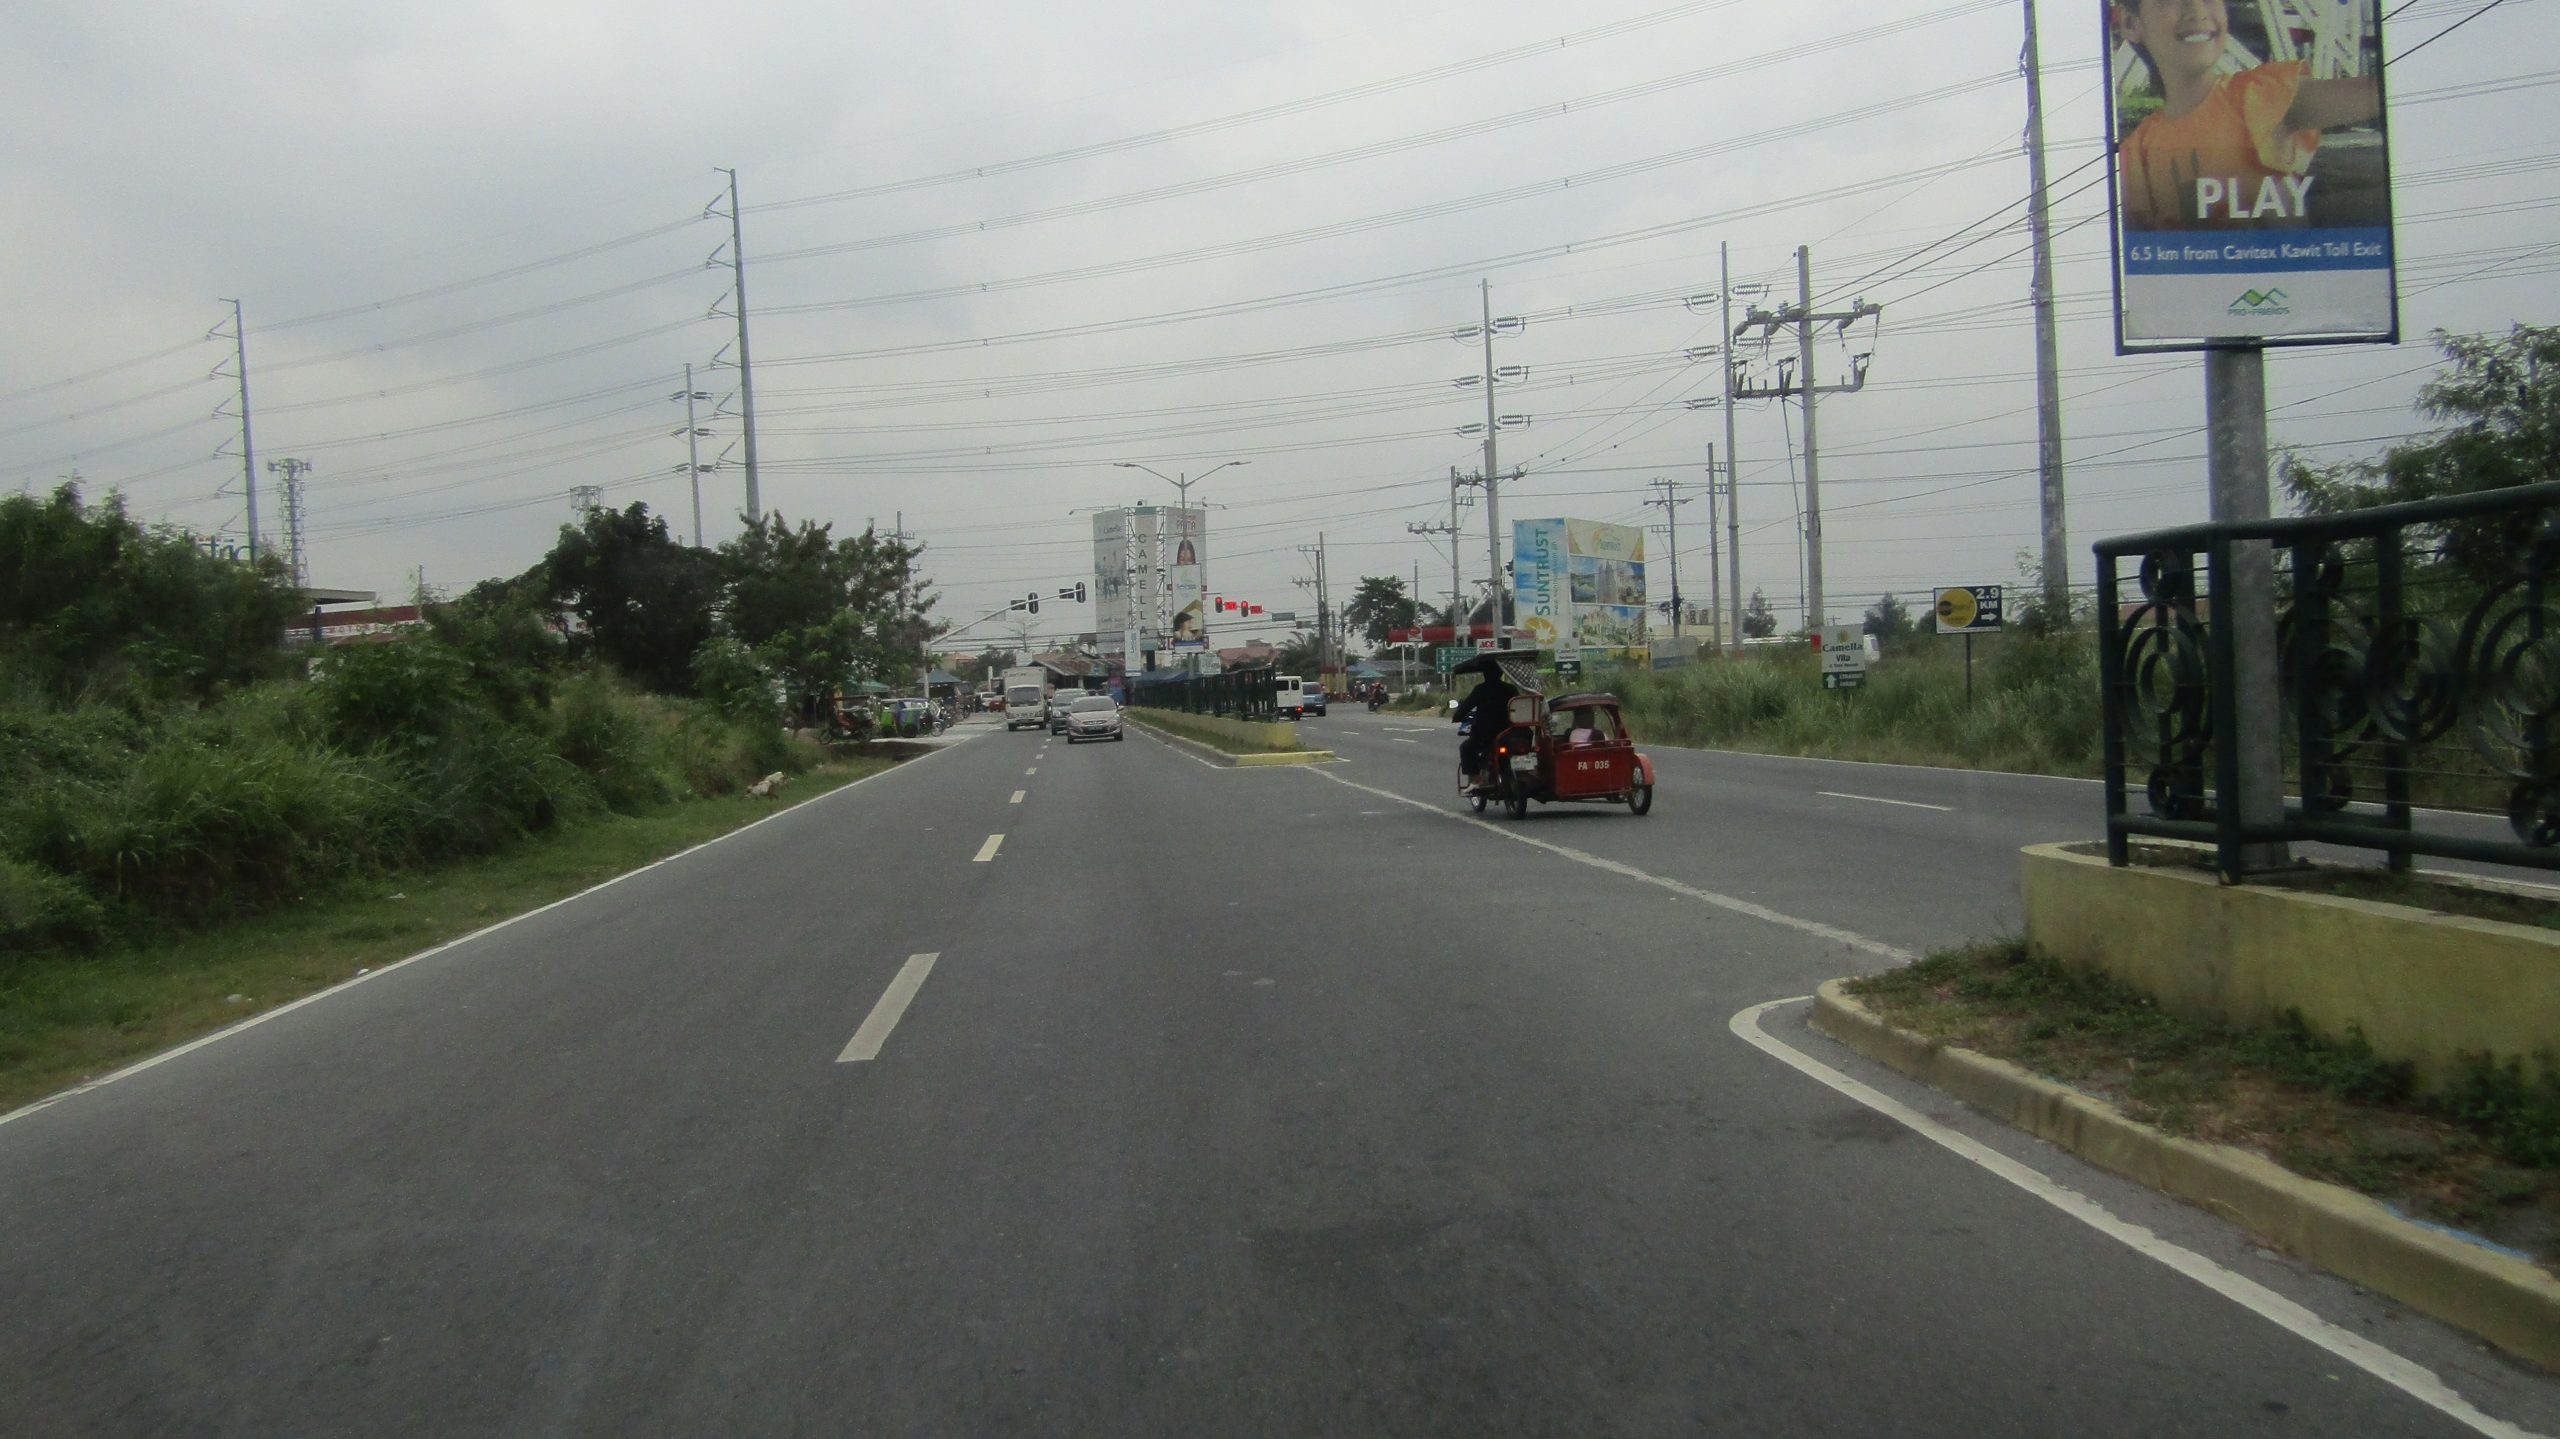
Our van left Imus, Cavite, at about 10:30 AM on a relaxed yet sunny day.  We traversed the newly-built connector roads between Cavite and Laguna.  We arrived in Cabuyao in about an hour and a half, having picked up orders of “rellenong bangus” (grilled, stuffed milkfish) and “lechon manok” (roasted chicken) from food stalls located along the route.

New roads connect the province of Cavite with Laguna
From Dasmariñas, Cavite, we used this new access road to Laguna.
Jeepneys ply the national highway in Cabuyao, Laguna
We stopped to buy ‘Andok’s lechon manok’ (grilled chicken)

Cabuyao was once a sleepy town (now a city) of Laguna, about 27 miles southeast of Manila.  We rode past the town on our many cycling jaunts to Los Baños in the days when the South Luzon Expressway, from Manila, went only as far as the municipality of Alabang.  We had to use the interiorly-located national highway to go further south.

Barrio Banay-Banay, Cabuyao, is where my first cousin Carol and her husband, Arthur, found a second home after spending most of their careers in Cavite.  The couple met at a company that dealt with industrial plastic products located along the national highway in Bacoor, Cavite. 

After they got married, they lived near Imus but decided to move here after Arthur’s father passed away, leaving a self-made bamboo hut on a piece of property about half a mile east of the national highway.

We found Arthur roasting “pork liempo” (grilled pork belly) and “inihaw na bangus” (grilled milkfish) on his improvised grill and also got accustomed to the incessant barking of their four (4) dogs — who are these people?

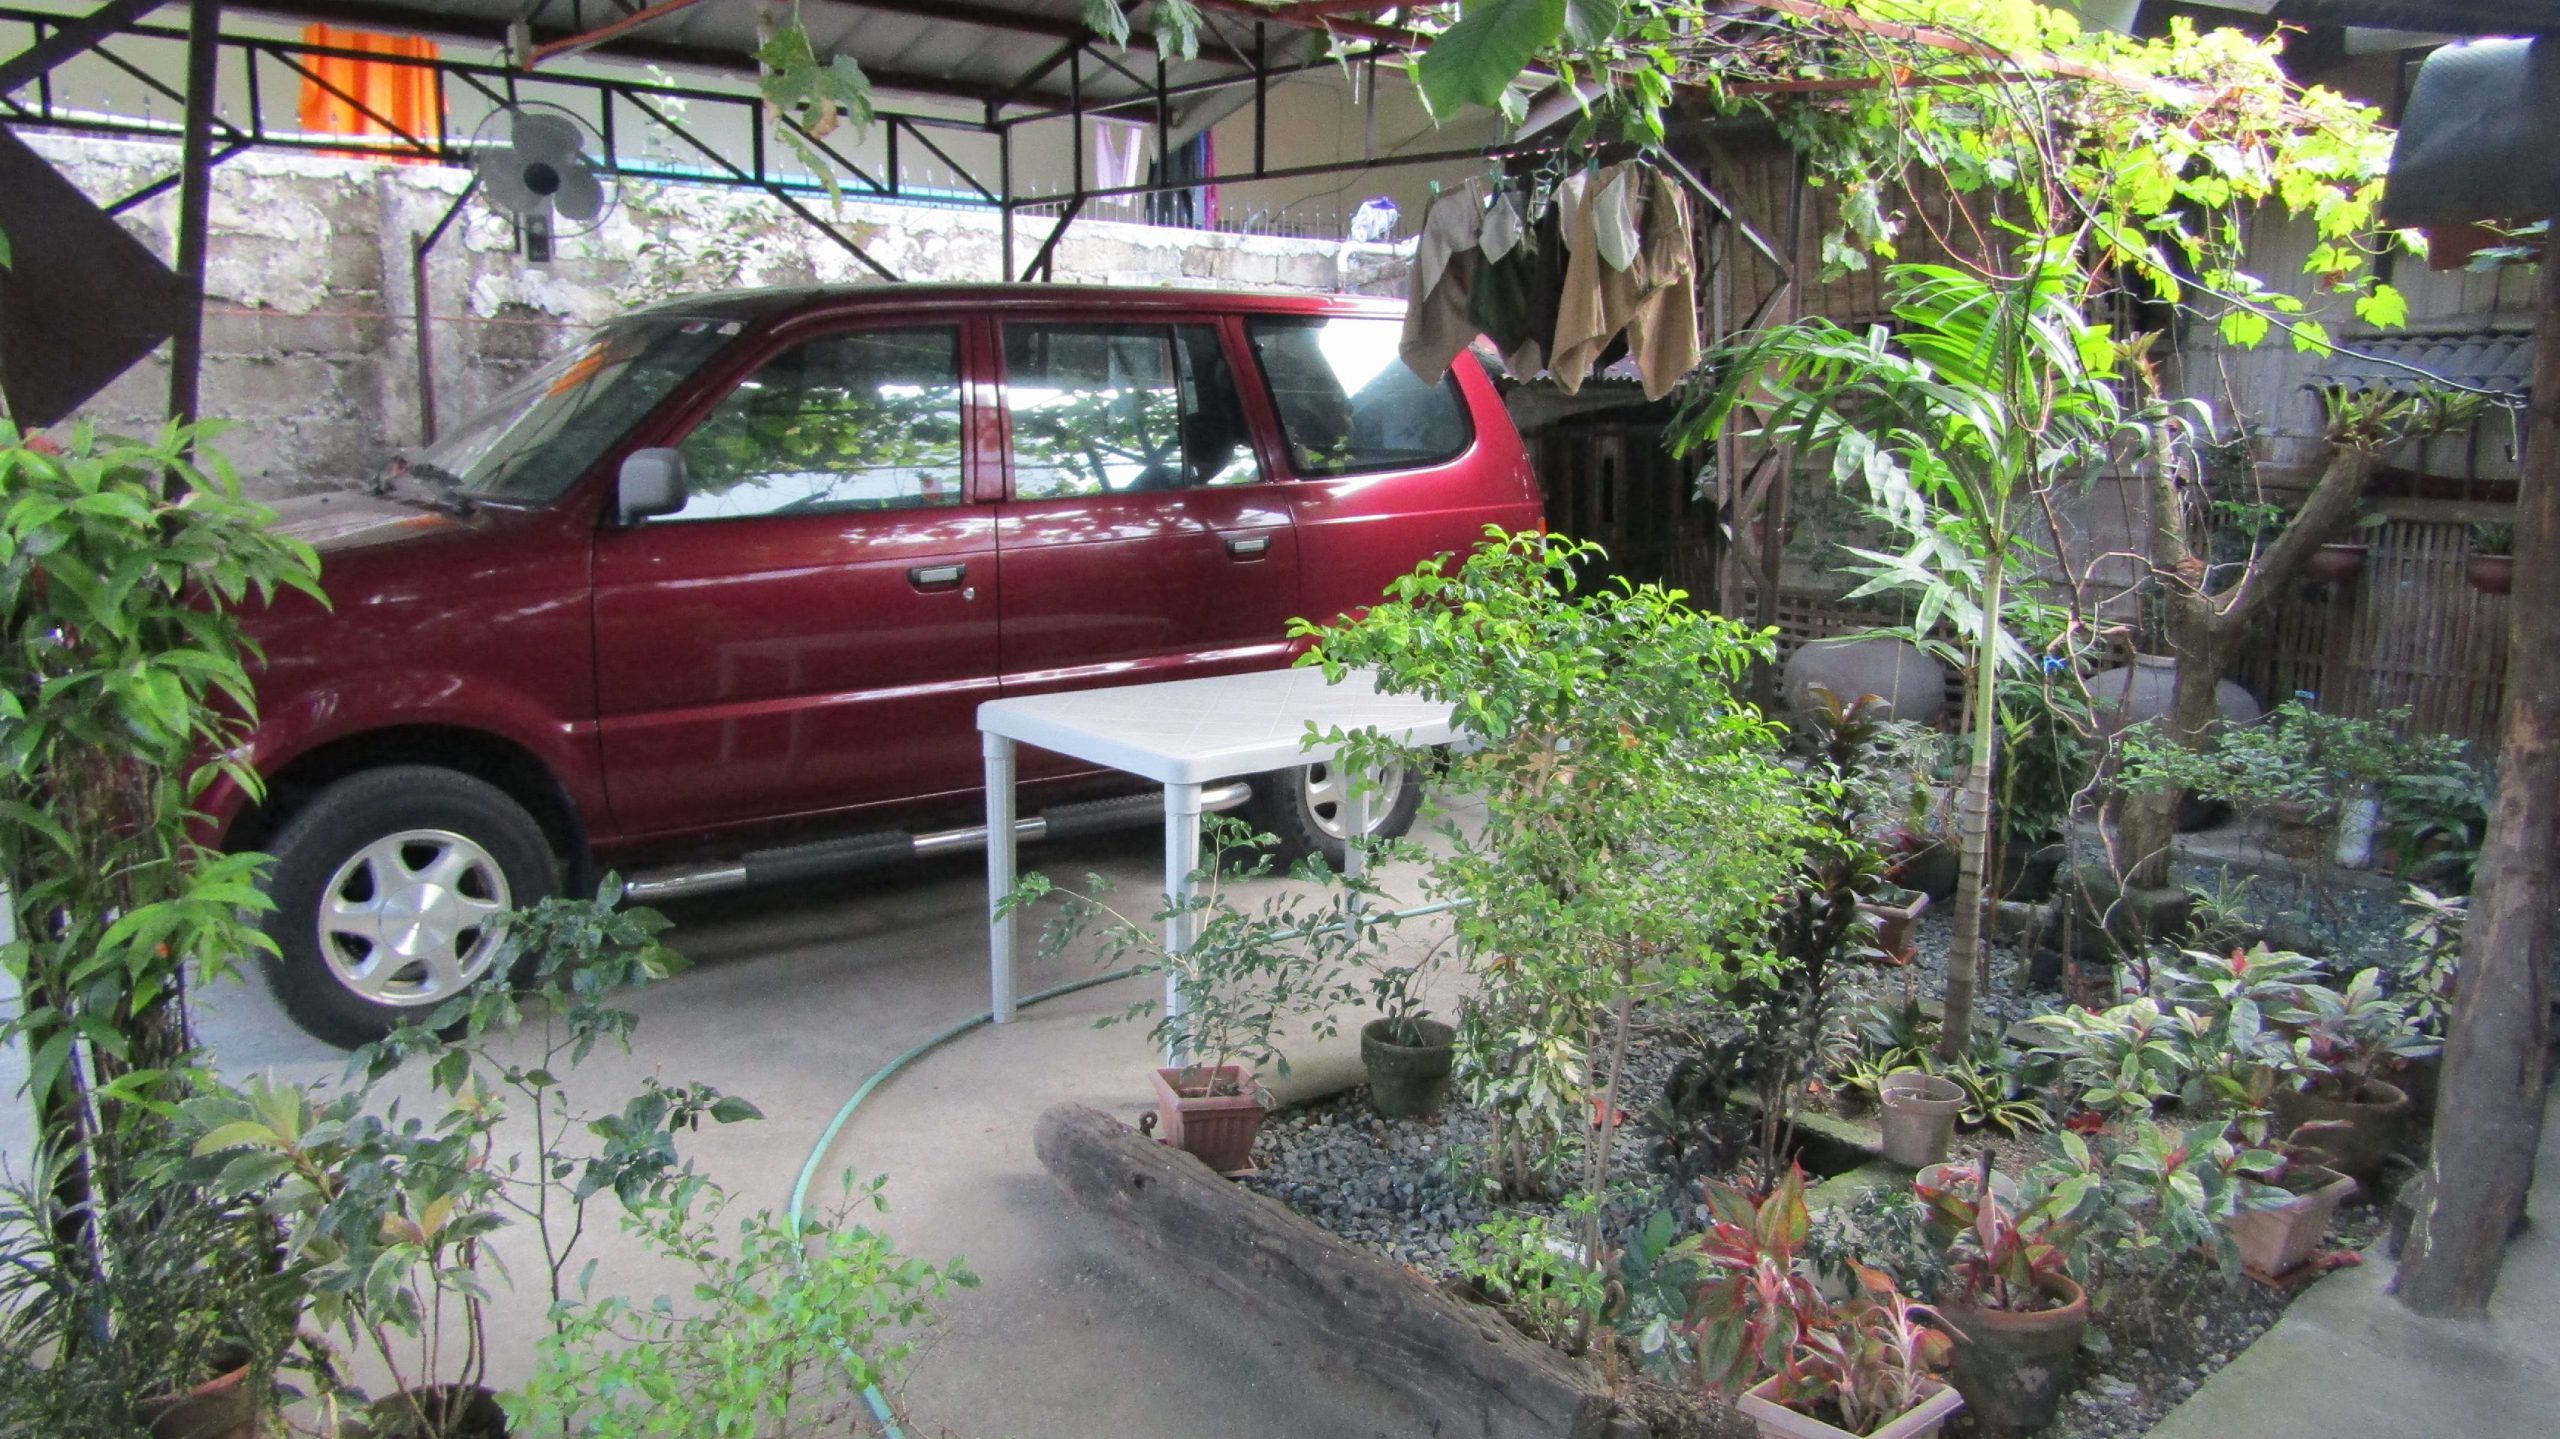
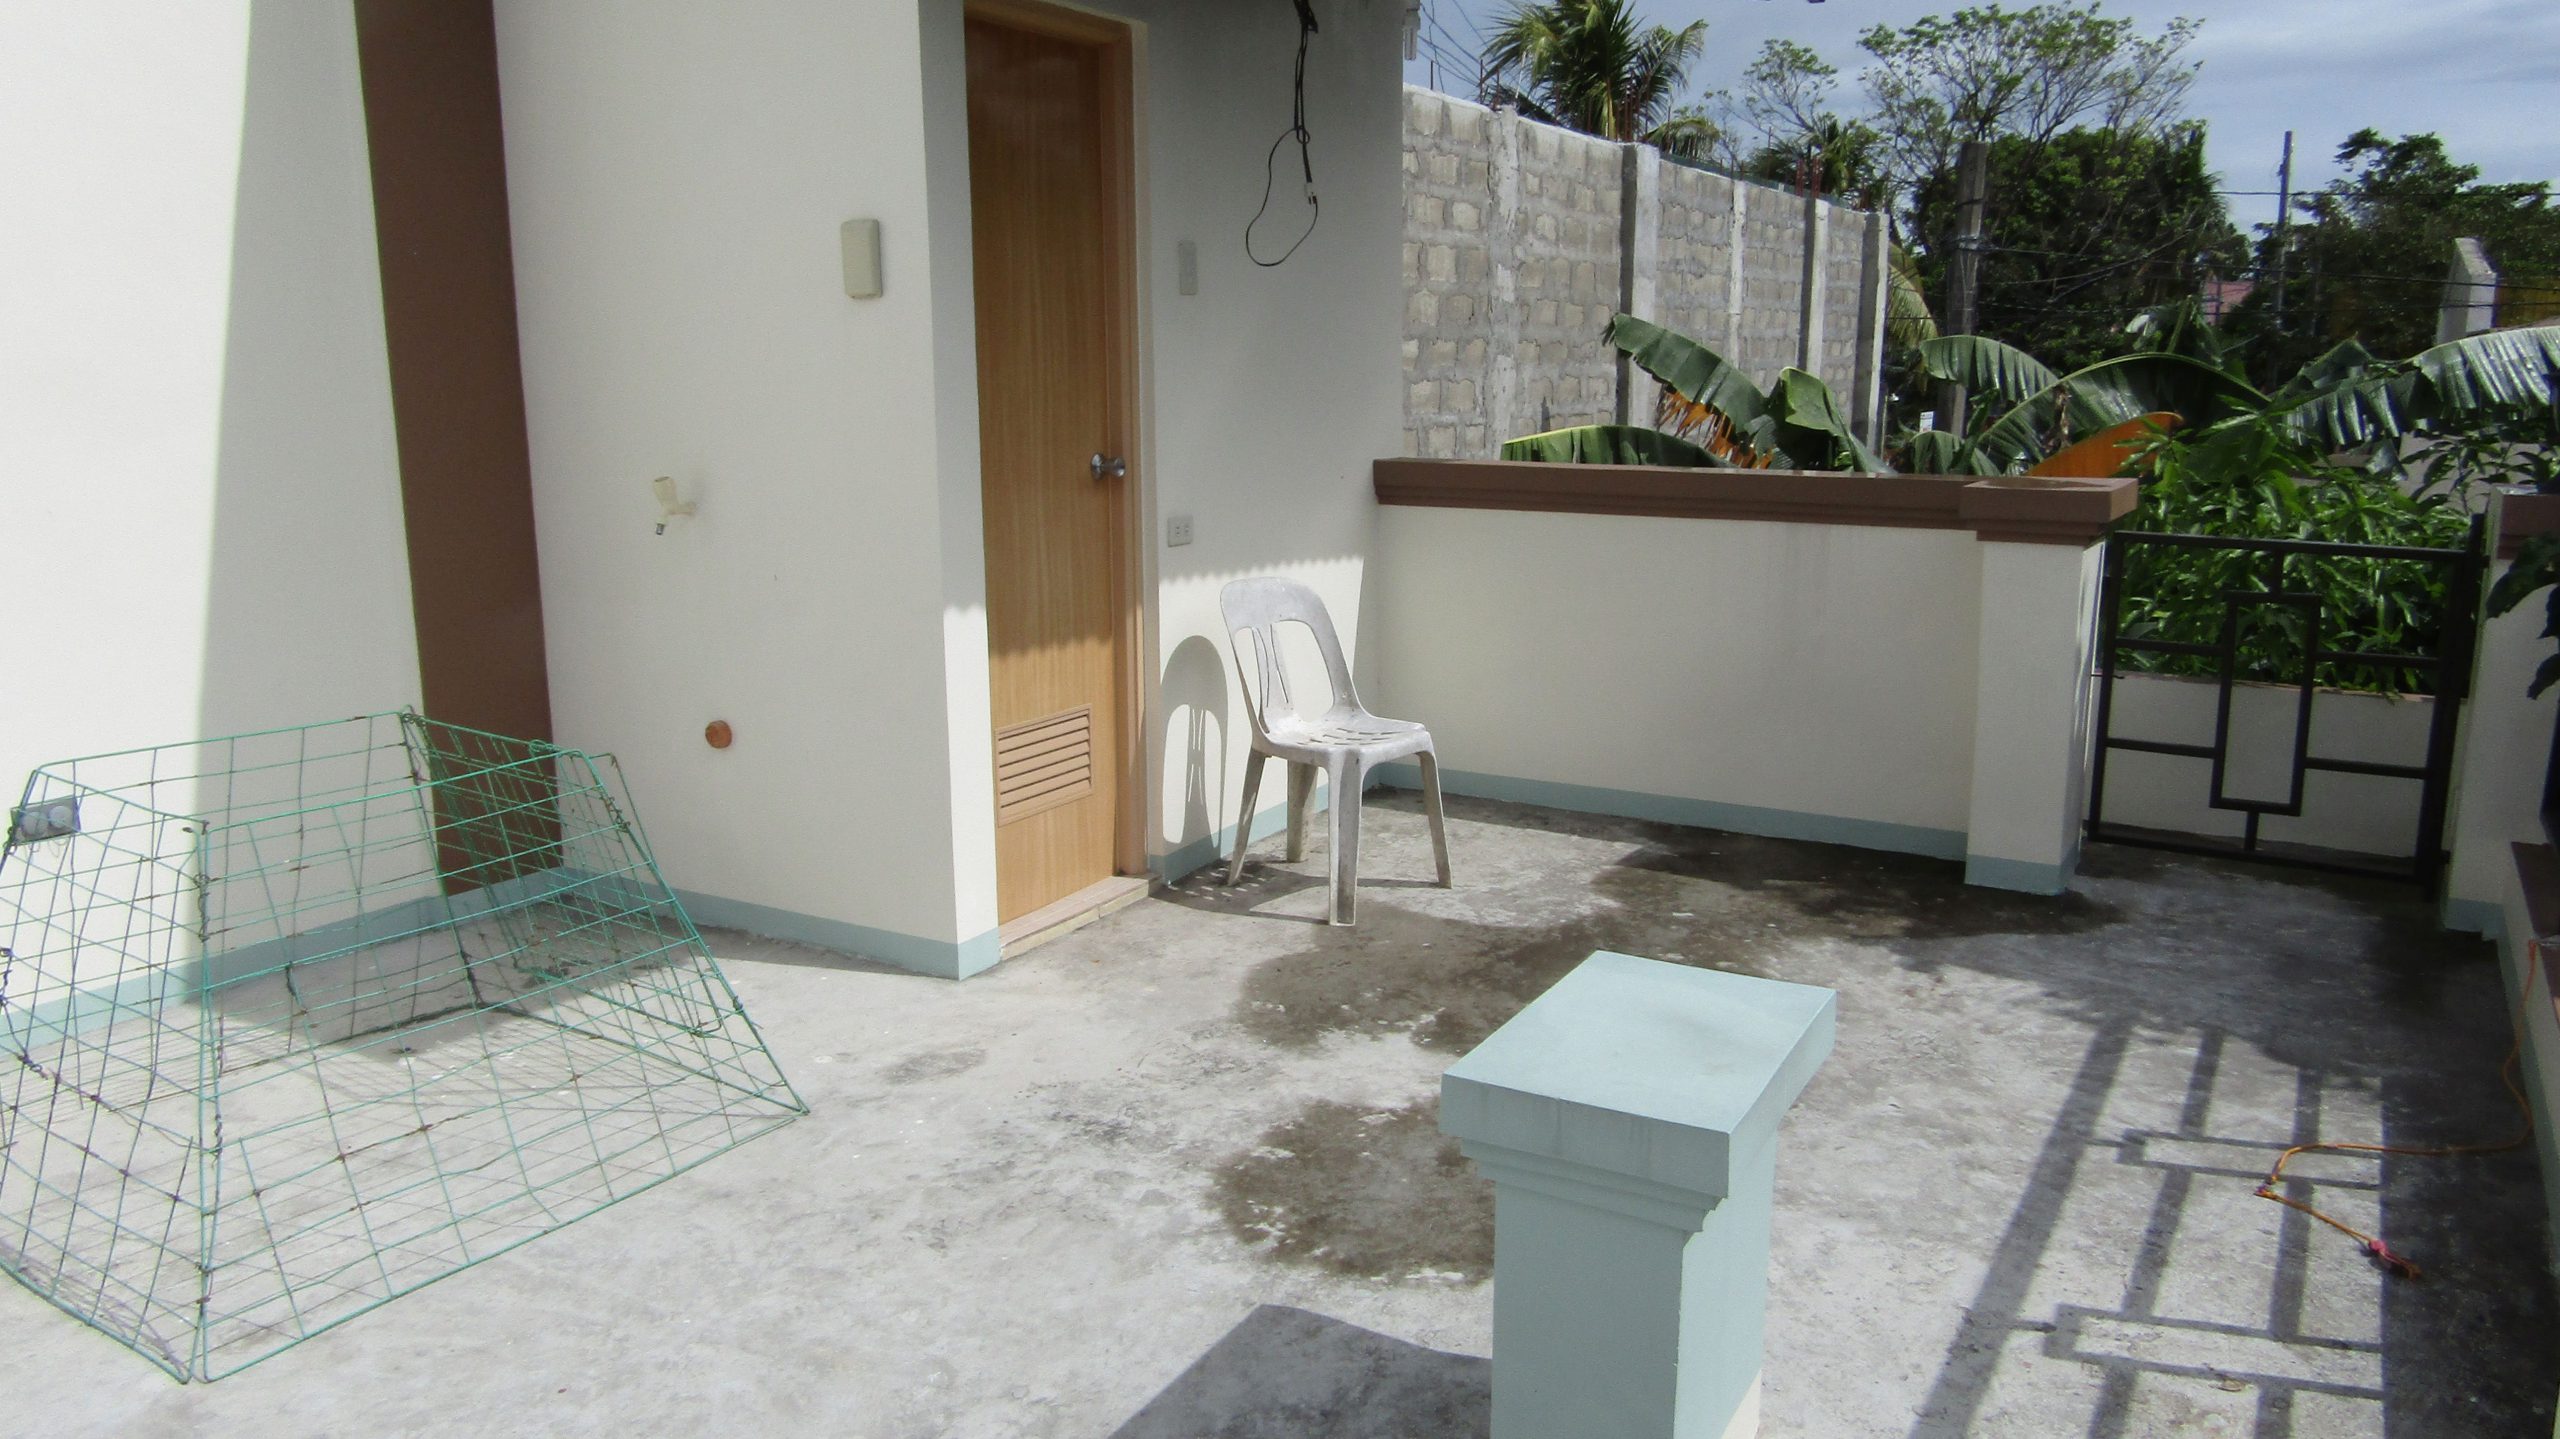
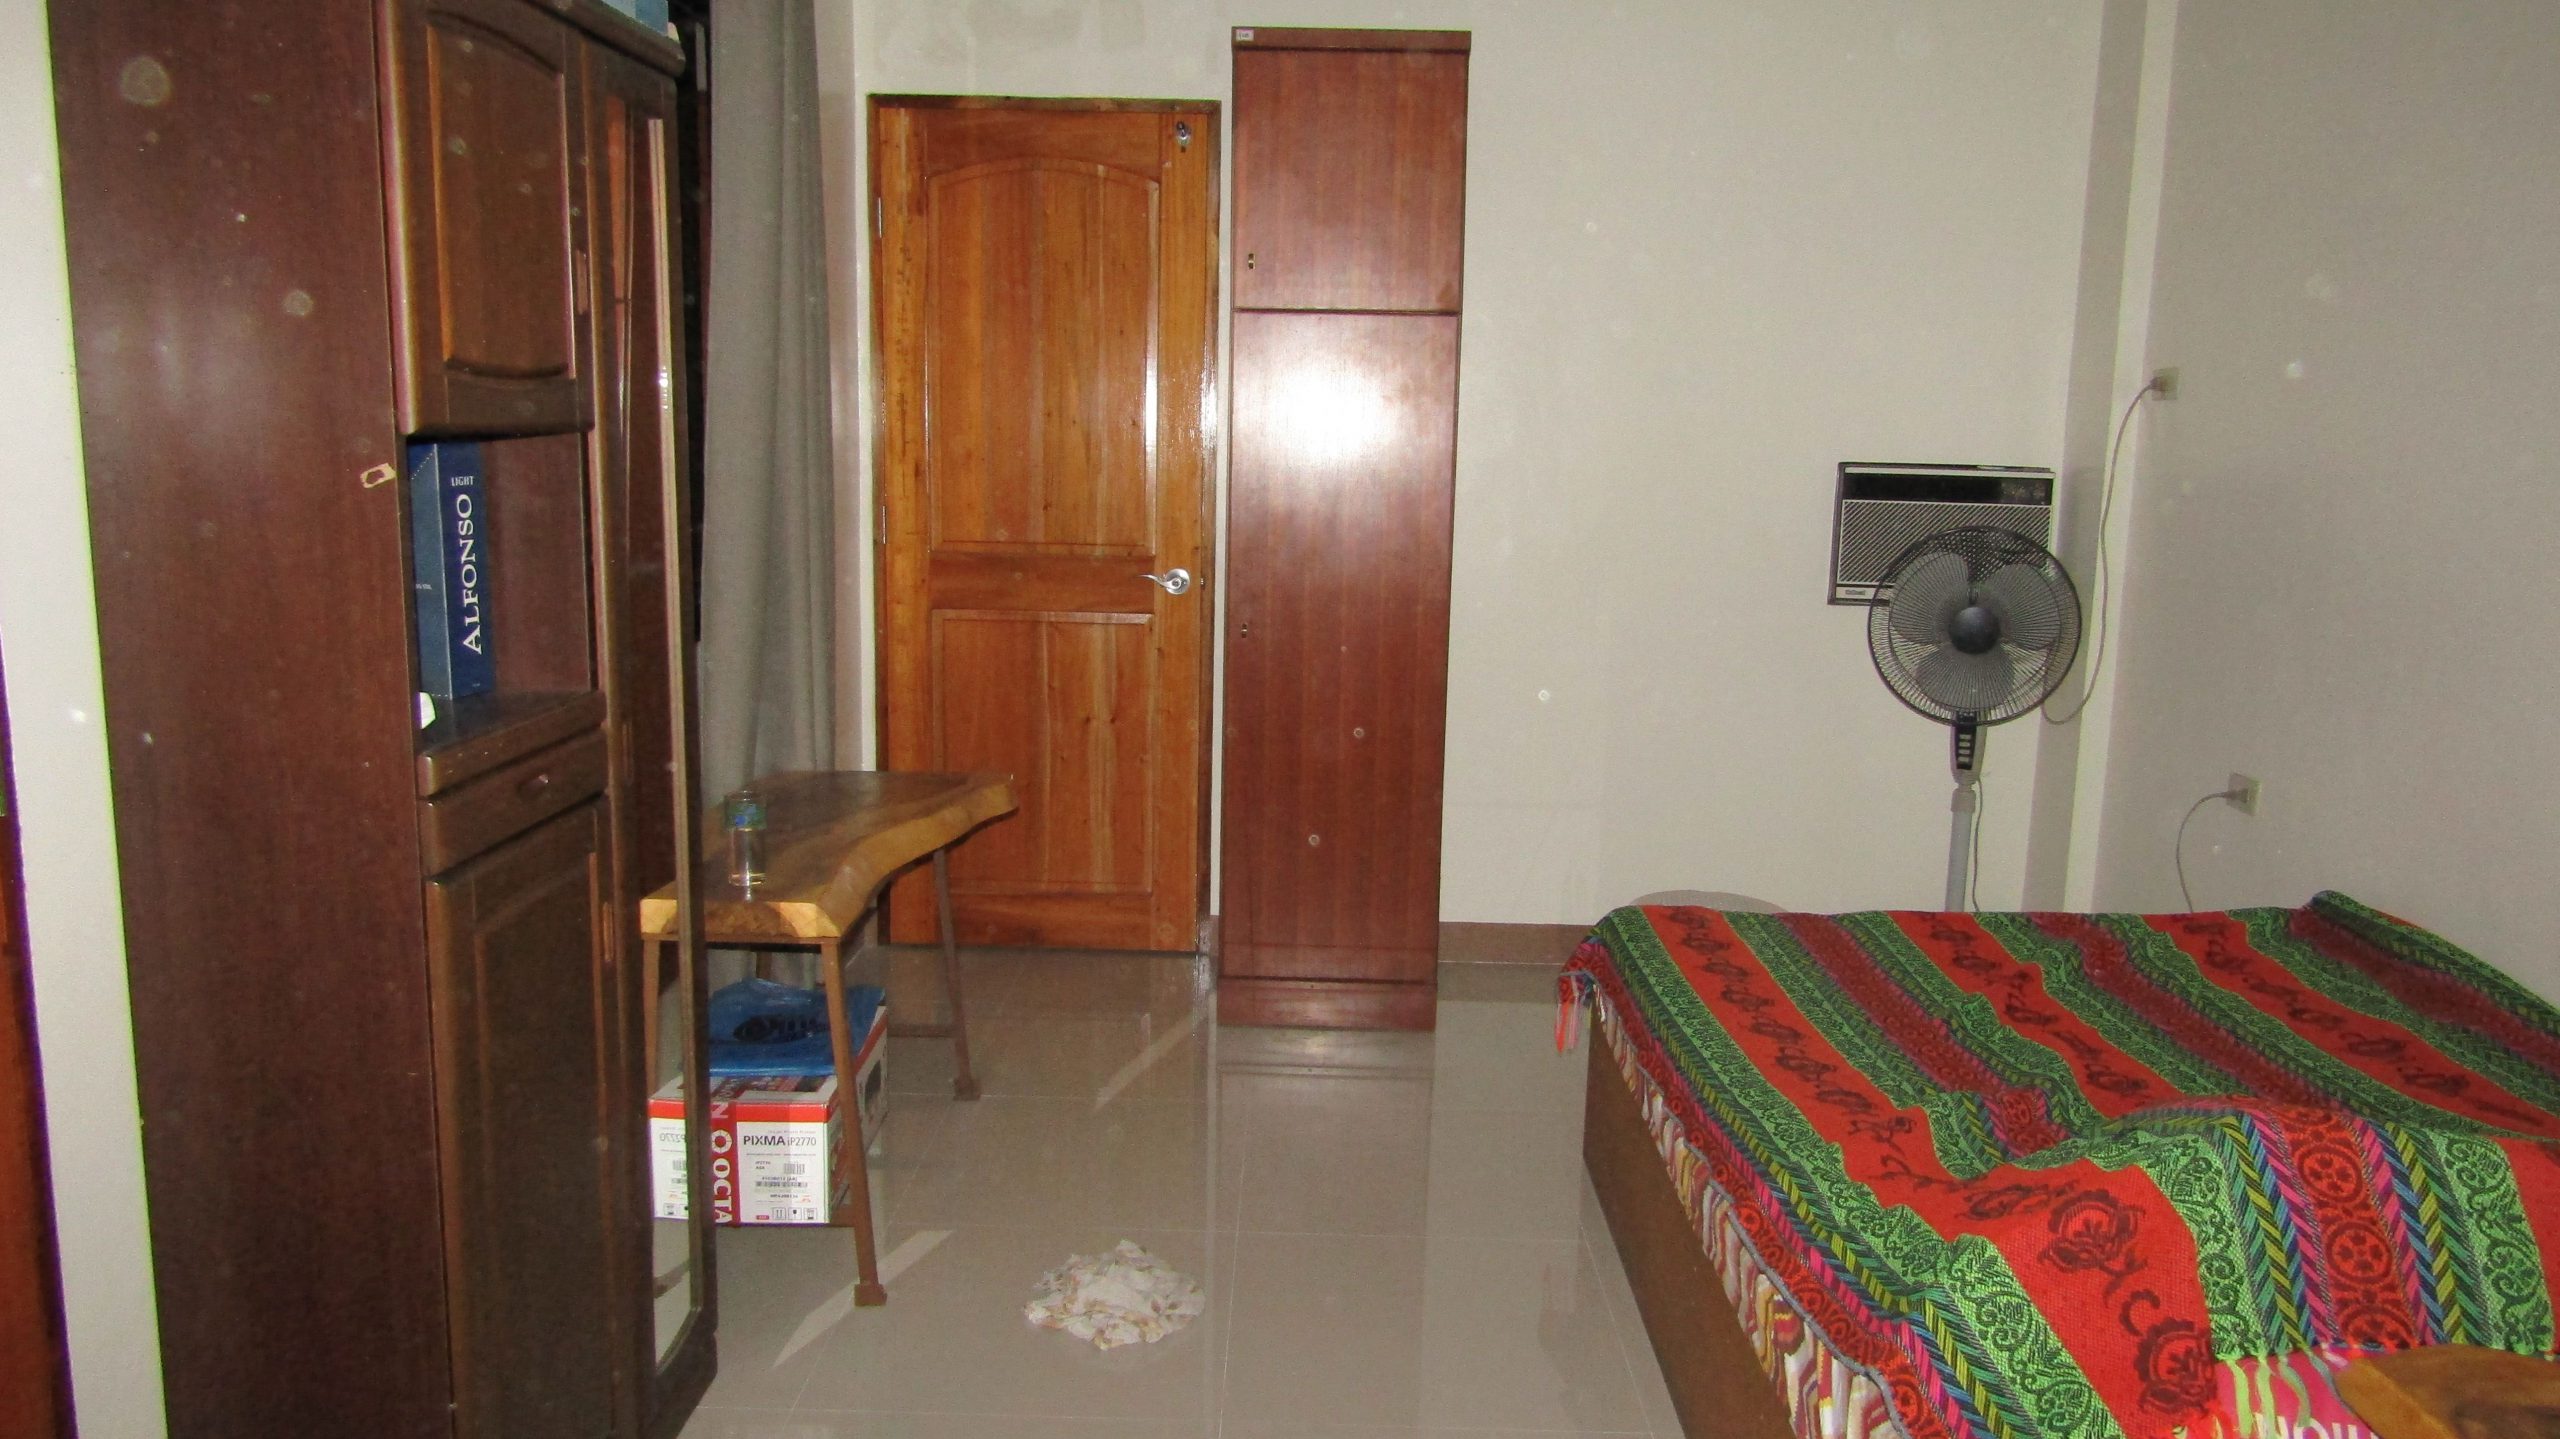
I had been to their place in late 2011, so I immediately noticed the changes.  There was a new shed for the carport that Arthur had fabricated himself in his spare time using his rudimentary welding skills.  They had also constructed an all-concrete, two-story structure with an open deck in the vacant land at the back of their old house– the bamboo hut.

Arthur and Carol's new shed at their garage
At Carol and Arthur’s place in Cabuyao, Laguna
Open roof deck - ideal for exercising the fighting cocks and drinking sprees
The couple’s simple roof deck in Cabuyao

When Carol arrived from their store, we began the impromptu luncheon party.  The menu consisted of “pinakbet” (vegetables sauteed in fermented shrimp), “tinolang manok” (organic chicken soup with lots of ginger and young papayas), the ‘lechon manok‘  (grilled chicken), plus Arthur’s  ‘pork liempo’ (grilled pork belly) and ‘inihaw na bangus‘ (grilled milkfish).

My uncle, Ricardo (‘Kuya Ading‘, who will turn 95 in a few days), his care provider, Emma, and my three ‘titas‘ (aunts) — Tita Yeyit, Ising, and Nita — accompanied us on this trip.  Rey, our driver, also served as our unofficial tour guide, having been on this trip several times.

After lunch, Kuya Ading became bored and requested the group to head back to Imus.  I had informed Tita Yeyit several days before the trip that I would be staying in Cabuyao for a few days, so I could revisit my favorite resort in Barrio Pansol, which was just a few kilometers south.

A few hours after the group departed, at about 3 PM, the trio of Carol, Arthur, and me went to the hot springs via the South Luzon Expressway, as traffic would be heavy along the national highway at that time of day, as Arthur suggested. 

We passed the new and impressive city hall building complex along the way and emerged at a less busy section of the national highway just a few kilometers from our destination.

Similar to Cavite, several towns in Laguna, near Manila, have undergone rapid urbanization.  I felt nostalgic yet saddened by the reality that some familiar spots, which had given the place its rural charm when I visited weekly to swim in its healing waters, had disappeared, replaced by concrete structures with commercial signs.

We parked the van on an empty lot that had once been a restaurant.  I was excited to rediscover the place after we had paid the PHP 80 (approximately US$1.70) entrance fee and an additional PHP 100 (approximately US$2) for a dressing room.  I immediately felt I was in the same spot as I had been more than two decades ago.  Not much had changed around the entire resort.

In the early 1990s, I had long conversations with the late owner, Jesus Candelaria (or “Mang Jess” as I used to call him).  He had intimated to me that he had paid very little for the place, which used to be a favorite spot for carabaos (Philippine water buffaloes) to cool off.  He had also informed me that most of his sons and daughters were living abroad and that his nieces were the ones who ran the place.

The marvelous waters flow from the north side of a slightly smaller-than-an-Olympic-sized pool, where several boulders – hidden by a wall – further filter them.  The water source is the legendary but now dormant Mount Makiling.

We soaked in the spot where the healing waters come out for five (5) hours.  In the same area,   people with disabilities could sit on a stainless-steel bench hidden from view by the chest-deep water.

The trip back to the house via the national highway was brief, as we had left the resort just after 10 PM.  After we hung our wet clothes and towels, showered, and took a quick dinner of the leftovers from lunch, Arthur led me to the bamboo table and held up two-liter bottles of San Miguel beer.

The beers, the greasy meat leftovers, and good stories that reference the past are always the perfect ingredients for a good night’s sleep.  I was in bed at 12:30 AM.

Day 2 – Jan. 25, 2016 – (Monday): A Surprise Visit to Barrio Mamatid

Still jet-lagged, I woke up at 4:30 AM and found Arthur already feeding his brood of animals – chickens, hens, roosters, fighting cocks, quails, ducks, geese, dogs, love birds, and two pigs – and so I chatted with him for a while.

Like the Filipino male living in the province, Arthur is a ‘sabong‘ (cock fighting) aficionado.  He and his wife, Carol, also operate a small store that primarily sells livestock feed and other necessities for cockfight enthusiasts, located along the main highway about half a mile from their house.

The open spaces adjacent to the newly built house are where Arthur found his joys in life — his inner peace.  There, twice a day, he feeds all his farm animals with the same care and devotion a good father gives his children.

Awake before dawn, Arthur feeds his flock of chickens, ducks, hens, pigs, geese, dogs and quails.
Up before dawn, Arthur feeds his flock of animals.
Carol and Arthur's room in the new house where I slept for two nights
My room in Cabuyao, Laguna, for two nights

At about 6:15, we had breakfast of ‘pan de sal‘ (bread buns), fried eggs, the leftovers of fried ‘bangus‘ (milkfish), pork ‘liempo‘, and the ‘lechon manok‘ from yesterday’s lunch party.

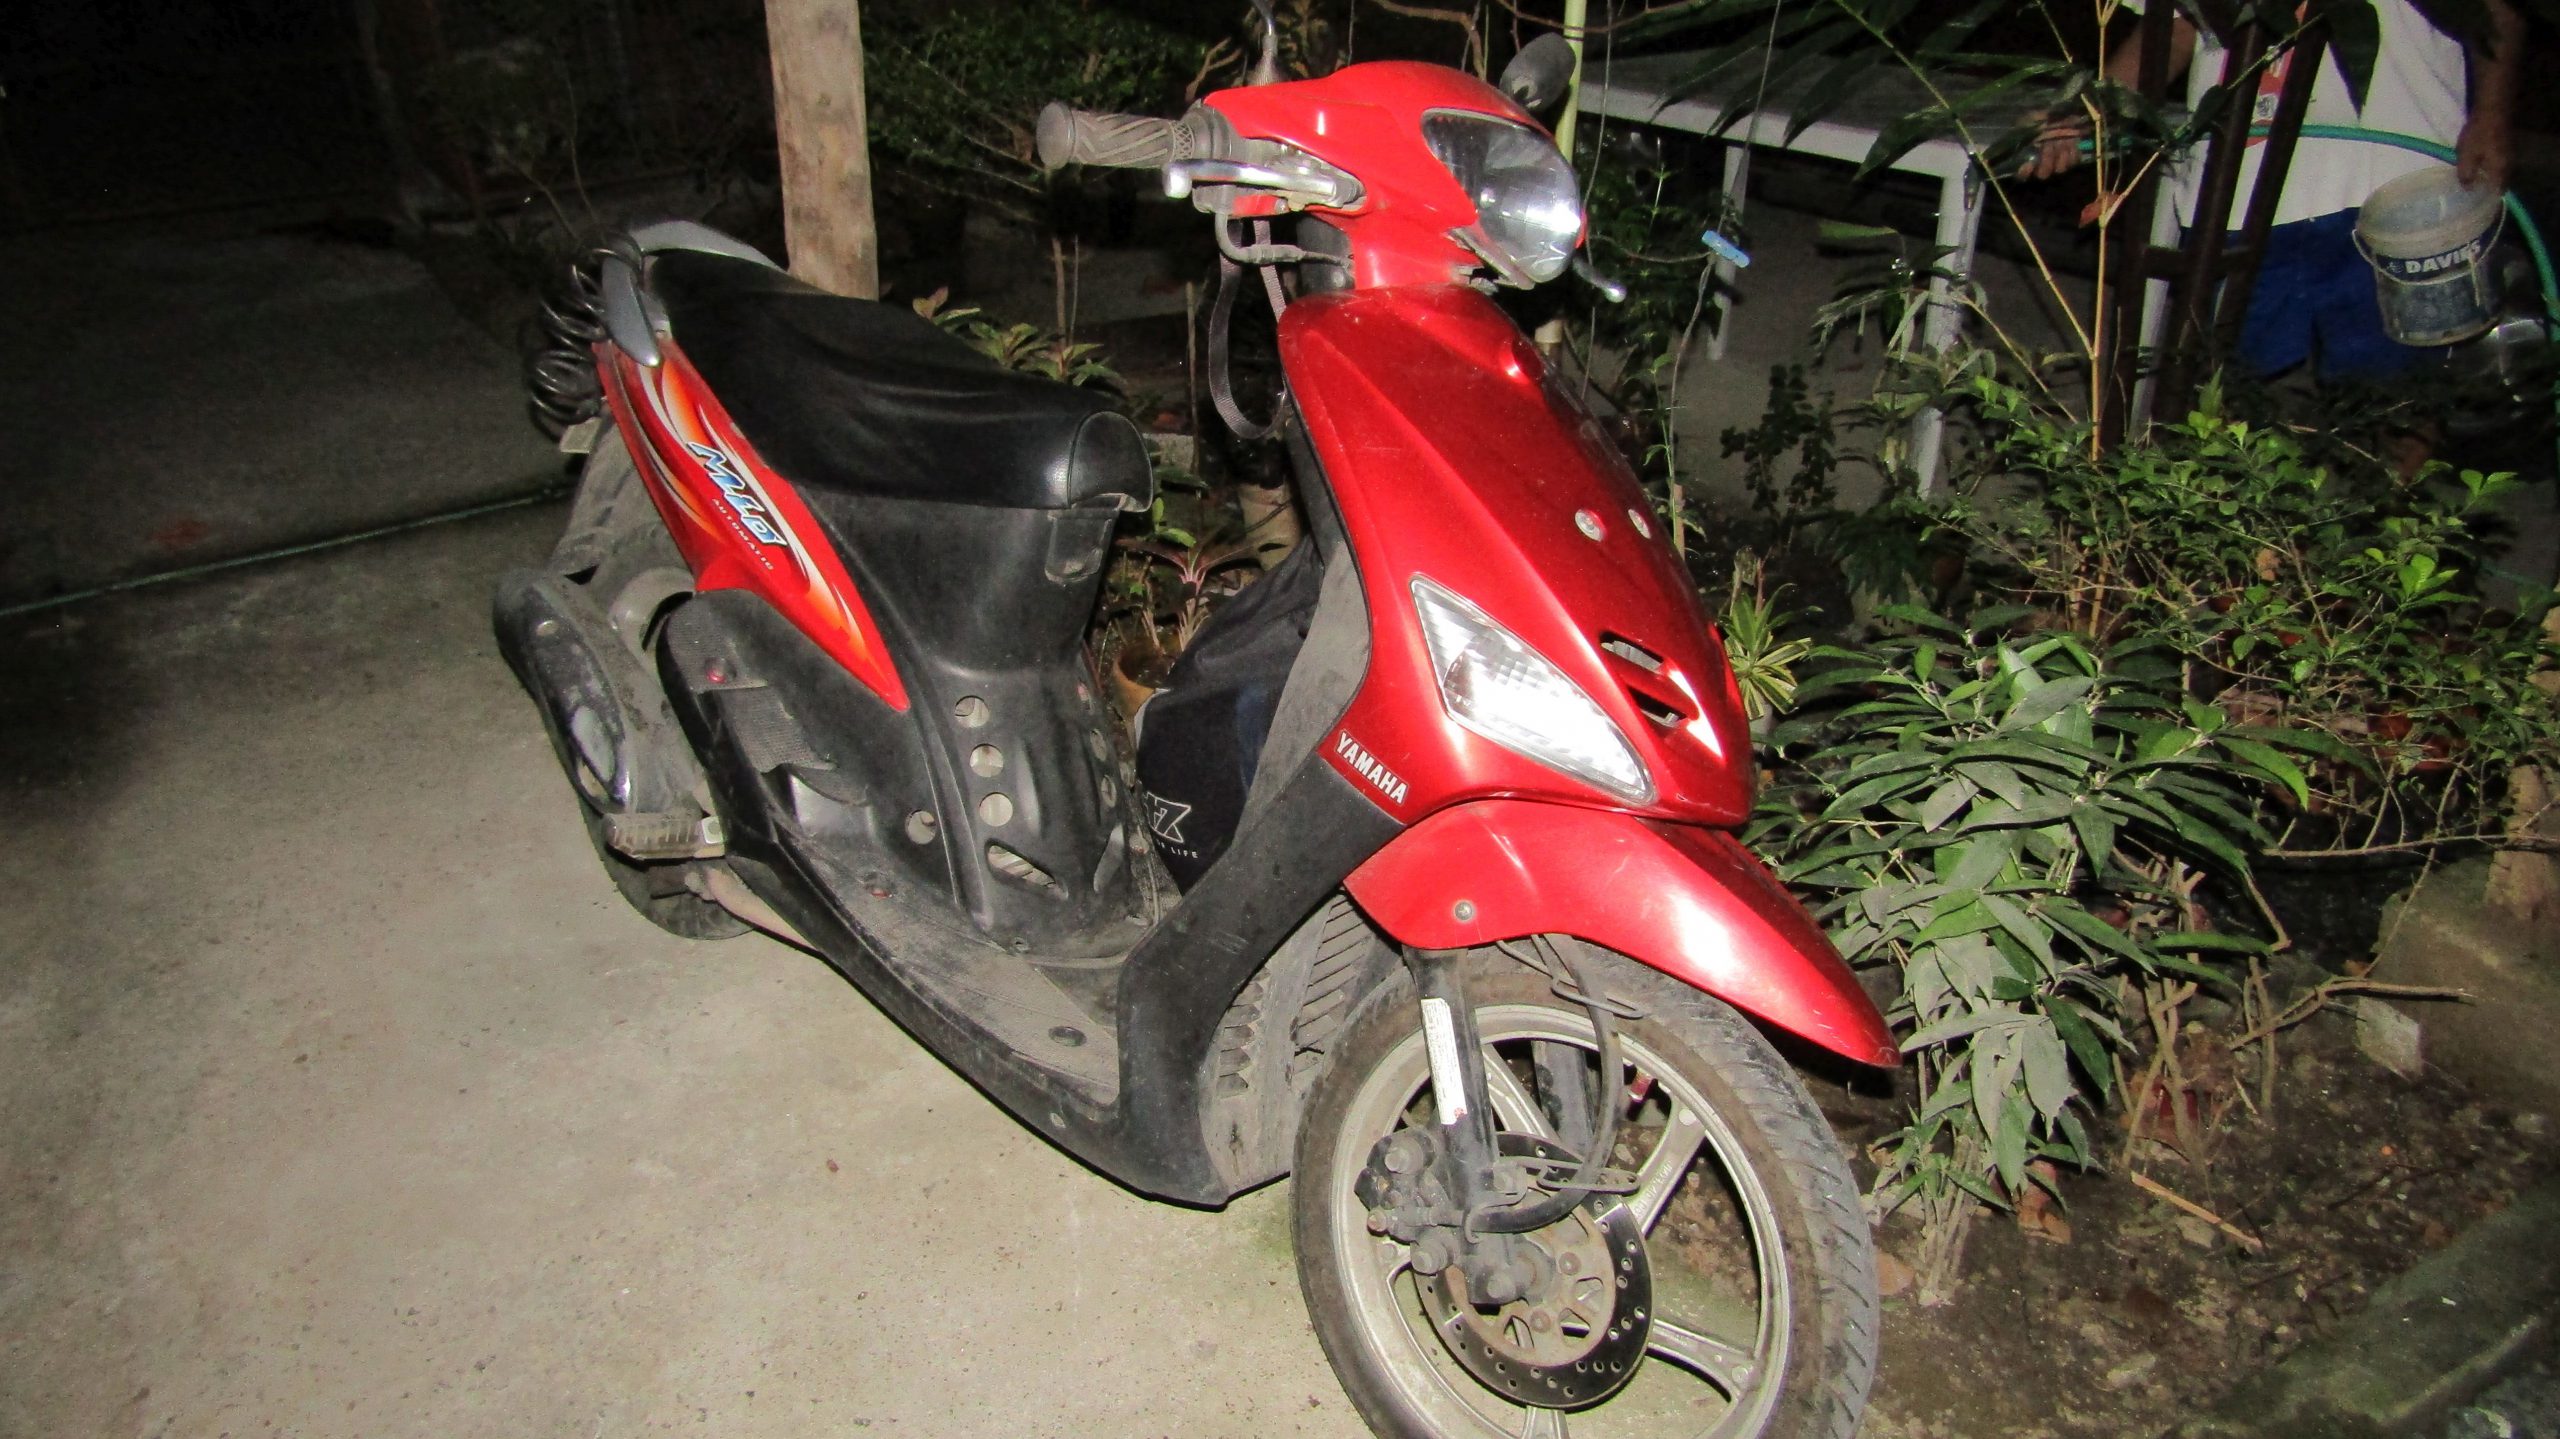
Two hours after Arthur left the house at around 6:45 aboard his Yamaha scooter, I decided to stroll around the surrounding areas and look for a store where I could ‘load’ my cell phone.

In the Philippines, you refill your mobile phone’s airtime with a wide array of ‘loads‘ that span from one day to a year, depending on your budget and need.  ‘Loading kiosks‘ had become a cottage industry across the entire island as vendors received a small commission.  I found a store right across the city-funded university and opted for the 3-day “GOUNLI50.”  However, I found out that most of the gimmicks pandered by some telecom providers in the country almost border on fraud.

Carol and I went to the store at about 11:30 aboard a ubiquitous ‘tricycle.’  It is the most common form of motorized transportation in the country.  We ate lunch inside the store after I briefly chatted with Arthur’s elder brother, who lives in a low-slung house located at the backmost part of the property owned by their family.

By 1:30 PM, after we had attended to the needs of store customers, Arthur and I boarded the trusty Yamaha scooter for the trip to Barrio Mamatid, about 6 kilometers southwest of Cabuyao.  We would pay a visit to a co-contract worker/friend back in the early 1980s when I worked in Saudi Arabia.

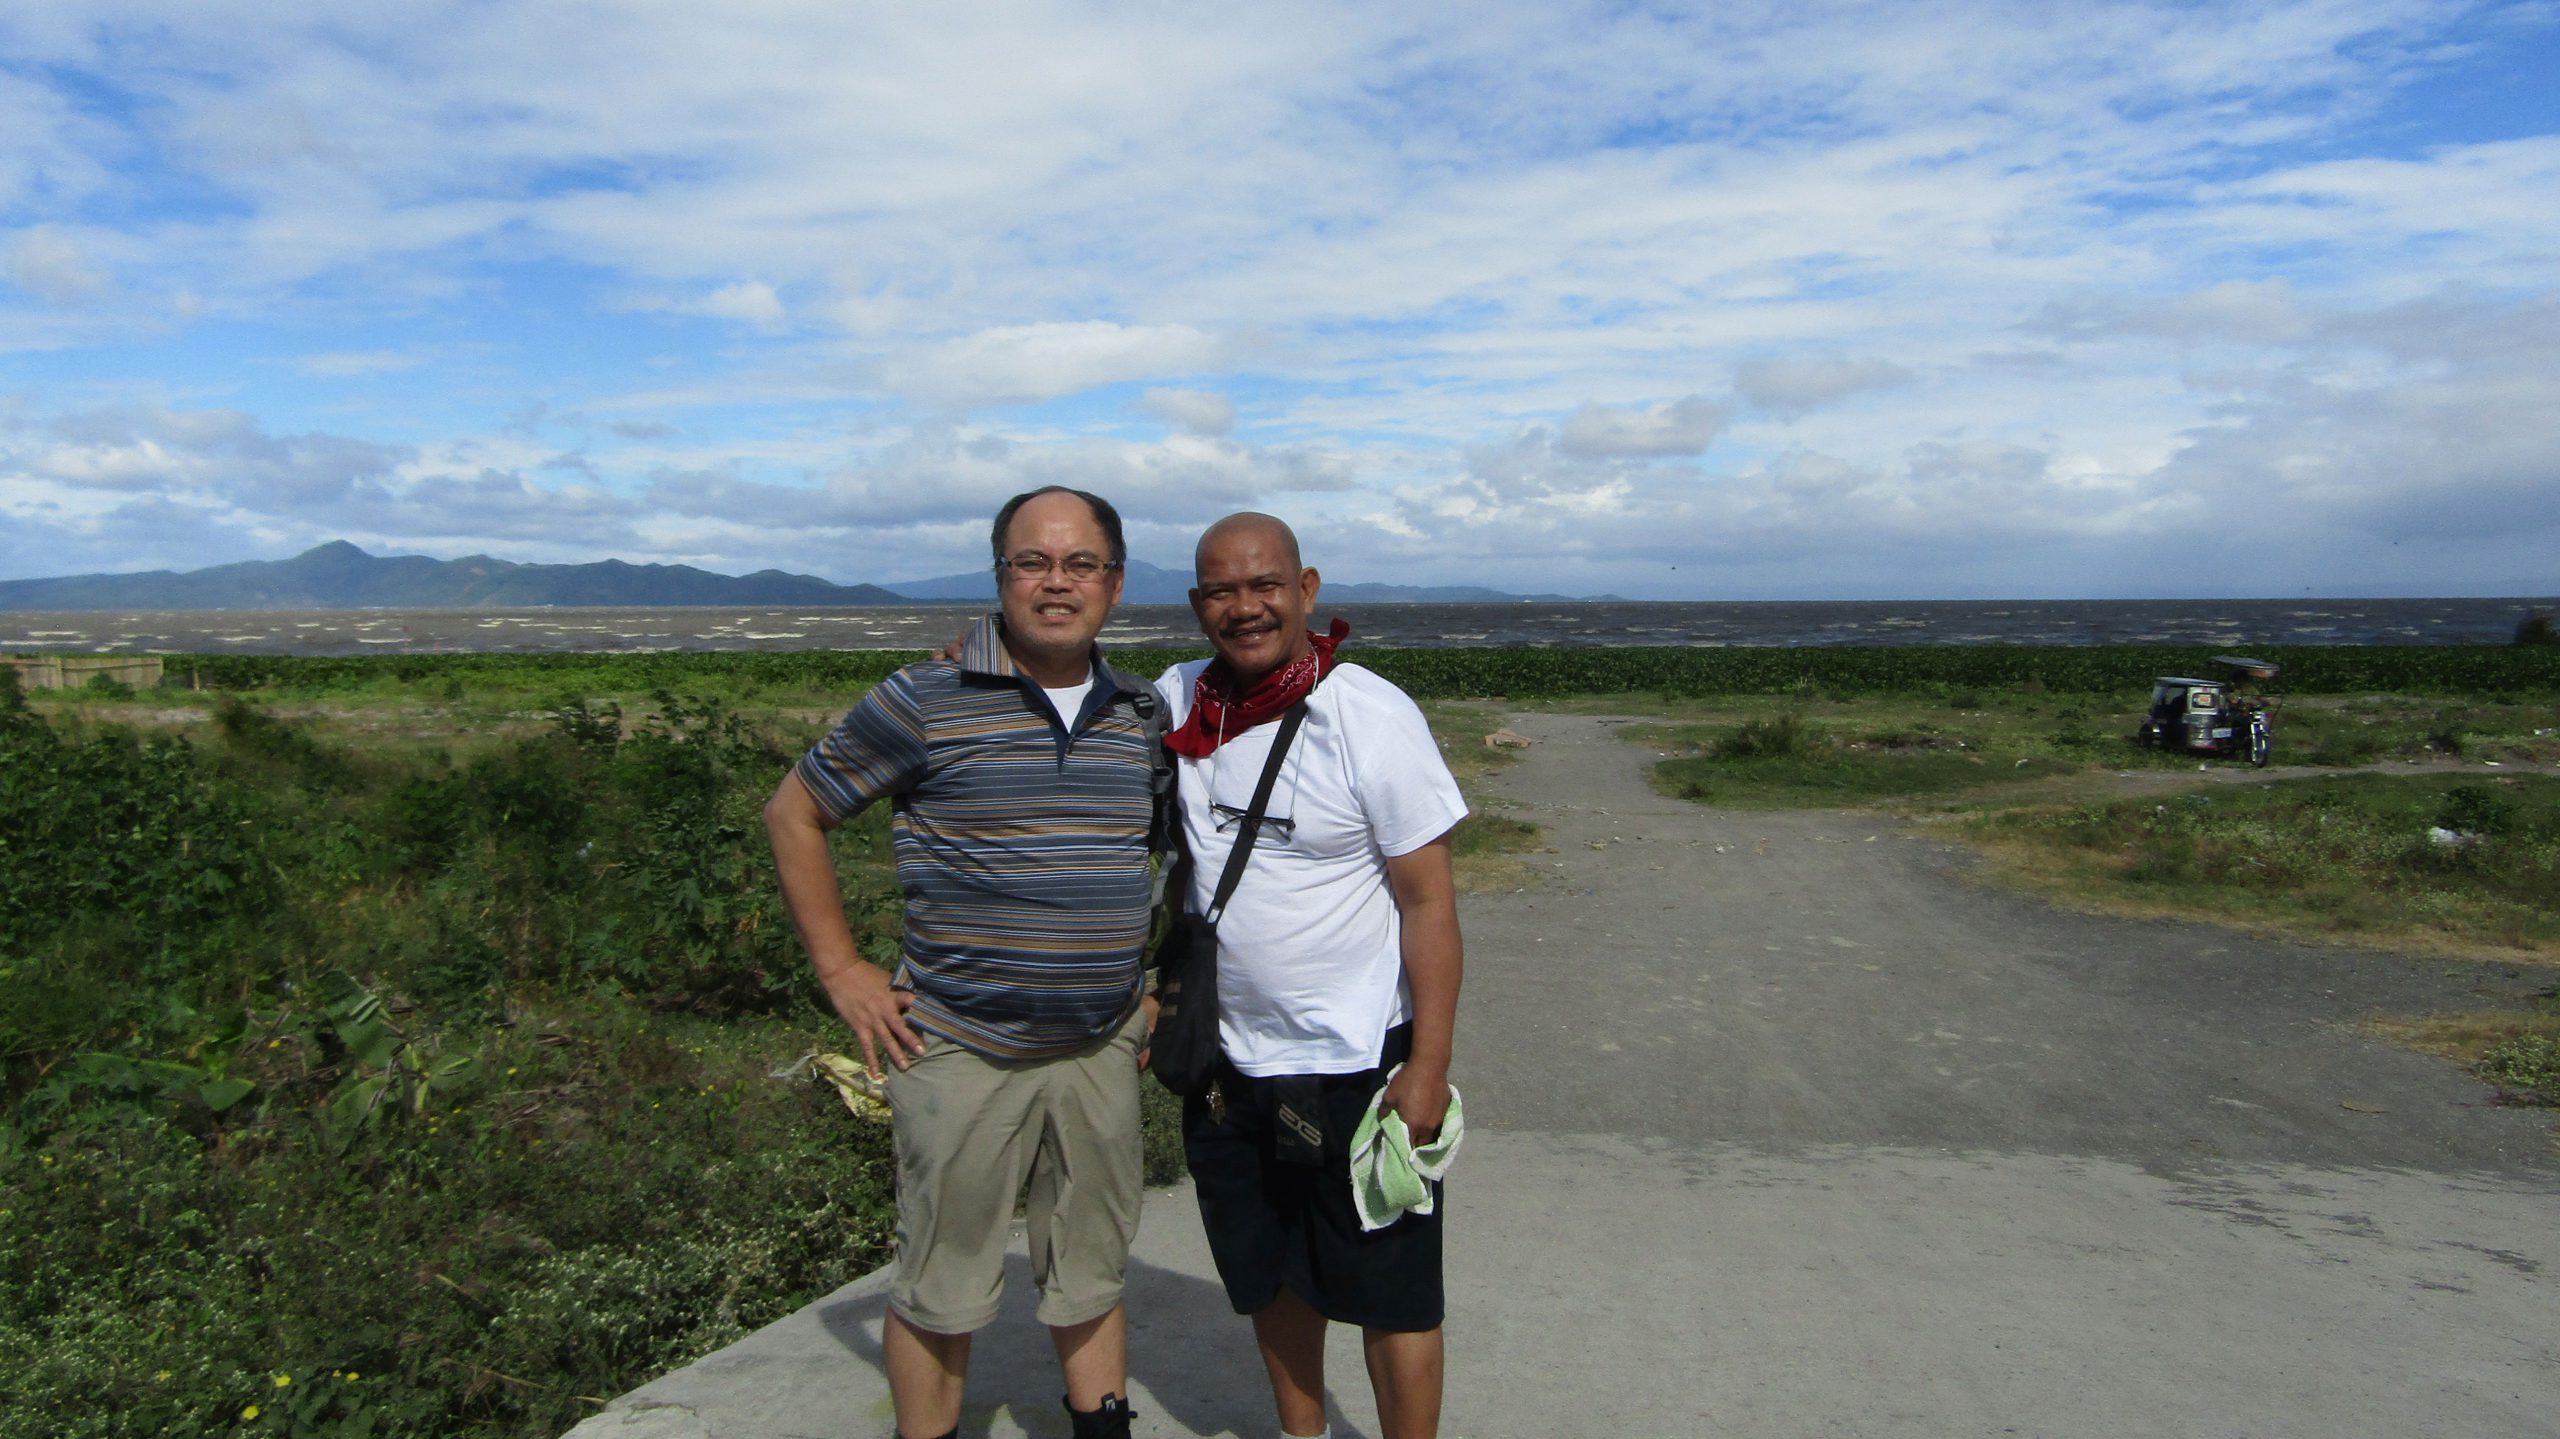
As fate would have it, I met Ernesto’s son, Ervin, in the healing waters of Laguna Hot Springs in Barrio Pansol last night.  We exchanged calls and text messages afterward and decided that today would be the most suitable time for his father and me to see each other again after more than 30 years!

We spotted ‘Erning‘ (Ernesto’s pet name) sitting in his “pakwan” (watermelon) stall and yelled out his name.  He immediately recognized me, and we hugged each other like long-lost brothers.  However, I felt the tug of that mixed feeling of joy and sadness after I saw him up close and realized that he had aged significantly.

We were both in our 20s when we first met on that farm near an oasis in Al’Hair, about 20 miles south of Saudi Arabia’s capital city, Riyadh.  Back then, the kingdom was a magnet for foreign contract workers as the country embarked on a massive modernization program funded by the world’s insatiable demand for oil.

Their house sits on a corner lot of about 500 square meters.  His youngest son had converted part of the property into a computer rental business.  About 25 personal computers with LCD screens operated on the same concept as jukeboxes of yesteryears and were called ‘PisoNet‘ (One Peso Internet).  Drop a peso into the slot, and you can surf the net/use the PC for five (5) glorious minutes.

Ernesto handed me a few peso coins, and I showed him some of our old Saudi Arabia pictures on my website.  While at the computer shop,  I asked him if Laguna de Bay was nearby.  In no time, we found ourselves at the lake.

Bong and Arthur near the edge of Laguna de Bay in Bo. Mamatid, Cabuyao, Laguna
Bong and Arthur near Laguna Lake in Barrio Mamatid

Ernesto informed us that locals can still catch fish in the lake.   Siltation has compromised the taste of the fish, though.  You will need to clean them very well due to the rapid urbanization on the lake’s fringes, that had rendered the once-clear waters an almost light chocolate color.

All over the Philippines, smaller towns surrounding big cities had slowly lost their rural appeal; most farmlands had almost disappeared due to urban sprawl.

Back inside the house, Ernesto served us “balut” (boiled 18-day fertilized duck eggs), slices of ‘pakwan’, and iced water. At the same time, we reminisced about our days in Saudi Arabia, our families, and, of course, local politics.

We bade our farewells to Erning and his wife at about 3 PM.  We headed back to the house using the same roads we took earlier.  We passed rice fields transformed into vegetable patches during the off-season, subdivisions, factories, and small mounds of haphazardly strewn garbage along the way.

Back at the house, I rested and showered away the heat. At the same time, Arthur headed back to the store after feeding his flock and preparing a vegetable dish that featured “puso ng saging” (banana hearts or budding banana blossoms).  They arrived back from the store at about 6:30 PM, and we had dinner of the same leftovers except for the vegetable dish with copious servings of white rice.

After dinner, Arthur hopped aboard his scooter to buy San Miguel beer in liter bottlesTonight, he informed me earlier, is one of those two days in a week when any one of his friends would drop by their house and “drink the night away.”

He returned with three (3) bottles of the local brew, and in the area adjacent to the carport, where there is a set of low-slung tables and two long benches made of bamboo, we opened up the first bottle while we waited for his friend.  Arthur cracked open all the balut’ that Erning had graciously allowed us to take home (together with a ‘pakwan’) to serve as our “pulutan” (appetizer).

We were halfway through the first bottle when his friend arrived in a nice-looking SUV.   He brought a plastic bag containing an orange-colored fried dish called “okoy” (small shrimp with slivers of vegetables deep-fried in batter).  Arthur had told me yesterday that he is also the ‘ninong‘ (godfather) of his architect-friend’s older son, and that on some occasions, both father and son would be present during their drinking sprees.

Having finished all three liters of beer by almost 11 PM, I had to go to the bathroom thrice to relieve my bladder before I slept soundly past the wee hours of the morning.

Day 3- Jan. 26, 2016 – (Tuesday): The Commute Back to Imus, Cavite

I woke up at 5:30 AM to prepare for the trip back to Imus, Cavite.  We had hot dogs, fried eggs, and big ‘pan de sals for breakfast that Carol had prepared earlier.  Afterward, I took a few more pictures of their place before we left at about 8:00 that morning.

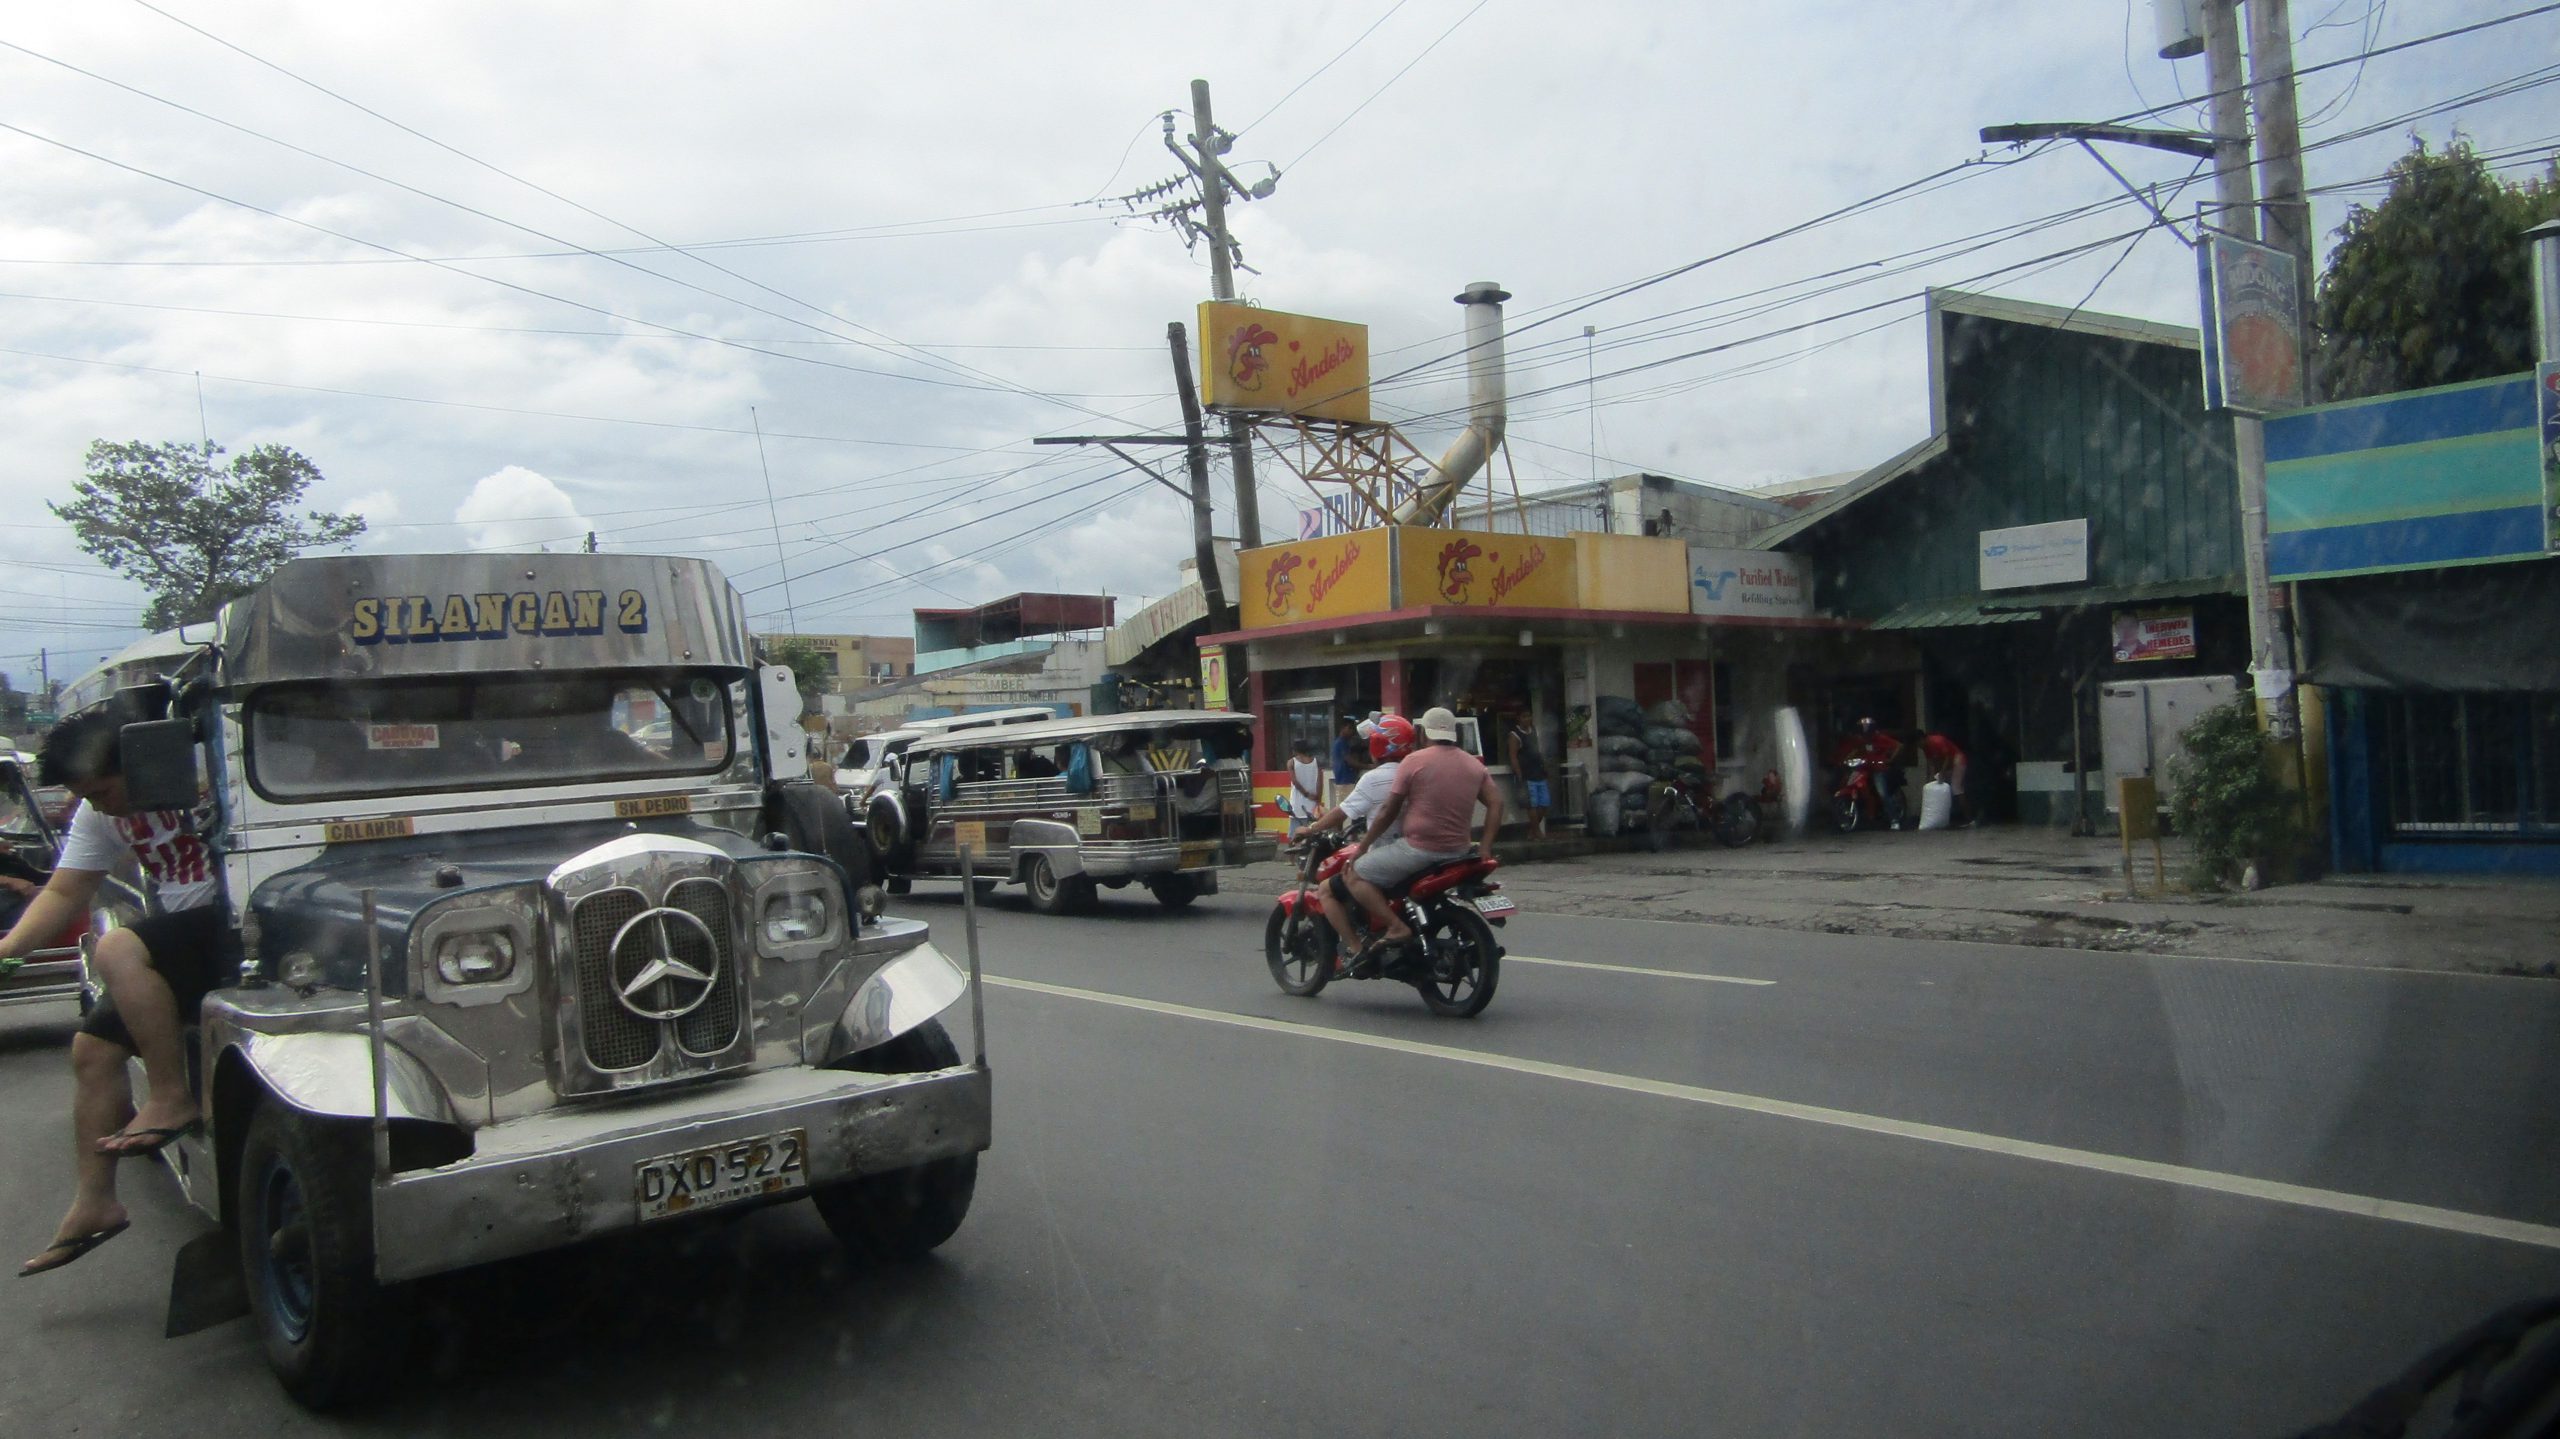
From their house,  Carol and I took a tricycle (PHP 10 or USD 0.21 per person) to their store, where I bid farewell to Arthur.  We hailed a ‘jeepney‘ to the transport terminal in Santa Rosa, where we waited for an air-conditioned van to fill up with passengers.  For PHP 55 (approximately US$1.17), we were taken to Pala-Pala, Cavite, where we caught our final jeepney ride to Imus.

Arthur's trusty scooter
Arthur’s ride in the barrio
Two cute dogs man the gate
Two of the couple’s numerous pets

It was a roughly one-hour trip, but the travel time from Pala-Pala to Imus Toll Bridge (the jeepney fare was PHP 10.50 or US$0.22) was about the same, despite the shorter distance, due to traffic.  Like Laguna, many “sleepy” towns in Cavite, notably Imus, had fallen victim to rapid urbanization in the early 1980s.

I finally took another tricycle ride (solo for PHP 25 or US$0.53), which I found to be excessive since the distance was just about 400 meters; I should have just walked (if not for my disability) back home. I was in Bayan Luma 3, Imus, by 10:30 AM.

I ate lunch of “chicken afritada” (stewed chicken with tomato sauce) and “Menudo” (a variation of the Mexican comfort food, but not as soupy) at about 11:30 AM.  I took a one-hour nap afterward on my Therm-a-Rest.

Ate Nene (wife of my aunt’s late first cousin, RodolfoRody’ del Rosario) dropped by around 4 PM, accompanied by a husband-and-wife friend.  She was trying to sell a parcel of land owned by her late husband and had brought a sign for the purpose.  The property is located at the back of my aunts’ house, three houses away.

Tita Yeyit arrived from shopping with Carol and Nelia (Carol’s sister-in-law) at SM City Bacoor (a huge shopping mall) by 7:00. For dinner, I ate two slices of Shakey’s Pizza that they had brought, and I went to sleep around 9 PM.

    Why Wearable Gadgets Have a Short Life Span…. (Or, Why the Apple Watch is so Overpriced)

    Never had the consumer been inundated with so many gadgets than today.  They had become so compelling and so affordable that people change phones like they change their socks.

    Just look at your power strip and see how many device chargers you have plugged in there.

    Tablets, phones, cameras, range extenders, personal hotspots, GoPros, activity trackers, Bluetooth this and that, GPSes, and other devices that have little screens in them that you can wear.

    While the GPS had become a norm in our daily lives when it got incorporated in cell phones, wearable gadgets like the Apple Watch, Microsoft’s Band, Google’s Glass, and other wearable technologies are doomed to fail until they find a solution on how to: 1) Power them for a very long time before recharging them  2) How to recharge them really, really fast and,  3) The battery should be end-user replaceable.

    Wearable gadgets have the same dilemma as pure electric car makers. Who wants to drive an electric car across America and wait for an hour or two each time when recharging their vehicles?  As if waiting for that car ahead of you in a Costco gas station is not long enough.

    And, what happens to the car when the battery drains out and could no longer hold a charge?  Unless they make pure electric cars very, very cheap, but, you don’t want to throw away that car when the batteries drain out  — like the way you dispose of a tablet or phone with a non-end-user replaceable battery.

    Early adopters of pure electric cars either have a lot of money (AKA: status symbol) or just like to take advantage of the Federal and State incentives like rebates and access to carpool lanes.

    So, the issues plaguing wearables – most specially, watches – today is that end-users don’t like to charge these gizmos each and every night or day after using them.

    Our power strip is too full already of those power bricks — don’t give us another one just for a freaking watch.

    In the same way that it makes more sense to buy a hybrid than a pure electric car, buying that wearable gadget makes more sense if the next time you’ll recharge it would be after a month or more.

    Until then, I’ll stick with the Rolex Oyster Perpetual.

    The Story of 4K (UHD) Monitor and Windows 10

    After almost nine years of faithful service, my beloved 20″ Princeton monitor finally had to be handed over to the recycler. It was hooked up on most occasions to my server – which had seen three (3) revisions – located in one of our bedrooms.  I was able to save it in its 5th year, after simply replacing a couple of bad capacitors.

    As a replacement, I yanked away from the 24″ Acer HD monitor that was attached to one of the PCs in our living room.  And since it happened only in late August of this year, it is running the latest version of Windows — 10 but I couldn’t recall what build it was then.  Currently, it’s version 10.0 Build 10586.

    I had been longing to set my hand on a 4K monitor for quite a while but their prices had been very prohibitive for the casual user.  Compared to conventional HD (1920 x 1080) monitors that had seen their prices fall to their lowest these days, a 4K monitor will still set you back at about the US$400 – $700 range for the 27″-28″ varieties.

    It is also worth noting that bigger-sized 4K (UHD) television prices are incredibly much lower than their smaller-sized 4K monitor cousins.

    To my surprise,  in early September, while checking my e-mails, I stumbled upon an offer by the old, reliable electronics store chain store in the Bay Area for a 28″ 4K monitor for a reasonable $250 if you’ll buy it using their new marketing gimmick — promo codes.

    A few hours later after I hopped in the car, I had already unboxed and connected the shiny 28″, 4K monitor to the living room PC.

    It has inputs for two (2) DisplayPort, two (2) HDMI, one (1) DVI, one (1) headphone, and a power connector.  The set also came complete with the necessary cables for the three (3) types of video inputs mentioned above.

    My enthusiasm was cut short after I found out that my video card, although it has both DisplayPort and HDMI connectors, can’t handle the requirements needed to power the 4K monitor at the higher 60 Hz screen refresh rate.

    Using DisplayPort, it only ran the 3840 x 2160 resolution at 30 Hz which rendered the entire Windows 10 experience very, very frustrating:  the screen was erratic and raggedy.

    The video card only has the DisplayPort v 1.1 while v 1.2 is needed –  DisplayPort versions don’t apply on the cables as long as it’s certified to comply with the DP standards – to drive the 4K monitor at the proper refresh rate of 60 Hz.

    After another trip to the same store to purchase the correct video card (an AMD Radeon R9-390Xand, ok, this cost me a lot more than the bargain 4K monitor), a more robust power supply from Thermaltake to drive all the components without hiccup plus a new, slimmer version of DisplayPort cable which I made sure was certified, I was all set.

    I booted the PC and found out that I was now running at 3840 x 2160 at 60 Hz with everything looking sharp but very small.

    No problem.  This is the latest baby of Microsoft and Windows 10 Pro should easily handle the idiosyncrasies of display-scaling.  Just click the Windows icon, Settings, Display, and ‘Change the size of text, apps, and other items’, slide it to, say, 200% and everything’s reasonably bigger. Well, except for a few 3rd-party apps.

    To further test it out, I ran all the experimental ‘El Fuente’ 4K clips on Netflix as well as on other sites that host 4K video clips.  I was in 4K heaven.  Or, so I thought.

    The issues started to show up when the PC comes out of hibernation or sleep mode.  It was specially noticeable in Microsoft’s Edge browser.  The fonts in the address bar in all the open tabs as well as on the window prompt when you try to close the browser were all gibberish.

    On occasions, the fonts also become weird on other functions like when you try to shut down the PC.  There were also times when the AMD video driver would suddenly terminate for no reason at all.  And, I had no recourse but to stop an application and/or restart the PC.

    The issue is definitely DisplayPort hardware related since all these problems disappeared after I tried running the PC using the HDMI cable at 1920 x 1080.  But what’s the whole point of getting a 4K monitor and that other expensive hardware only to run the unit at the same HD resolution?

    The techie in me tried all the possible solutions like reinstalling the latest video drivers, updating the BIOS, trying out the other DP and HDMI ports on both the monitor and video card, using an app called ‘Windows 10 DPI Fix’, modifying the registry, swapping out video cables as well as tweaking all the possible combinations in the 4K monitor’s on-screen menu settings.

    These woes went on for almost a month until I decided to just use the HDMI cable at the lower 1920 x 1080 resolution for the entire day.  Since I just left the other video cables – DP and DVI – dangling at the back of the 4K monitor, I also connected the DP cable to the video card.

    Back of monitor showing HDMI, DIsplayPort and DVI connectors
    HMDI (2), DisplayPort (2), and DVI

    Back of PC showing graphics card ports
    Simultaneous use of DVI and DisplayPort ports on an AMD Radeon graphics card

    Typically, you only use either DisplayPort or HDMI but not both on the same monitor.  However, since XP, Windows has the ability to detect and configure multiple monitors.

    Connecting both the DisplayPort and HDMI cables at the back of my video card and configuring Windows 10 in the display settings to output the seemingly dual monitor settings to ‘Show only on 1’ helped boost the video signals going to the 4K monitor after the PC emerges from hibernation or sleep mode.

    While the above-mentioned procedure did not totally fix the font-garbling issues, it not only eliminated most of the problems like the self-terminating video drivers, constant lock-ups, and reboots but also improved the overall clarity of the 4K monitor.

    And, while I wait for the next Windows 10 and video driver updates, I’ll keep looking for the ultimate solution to totally enjoy ultra high definition on the PC.

    The Trials and Tribulations of Working on Vintage Macs — in the 21st Century

    The world is constantly changing.  More so in the very fast-paced environment of technology.

    These days, you have just bought a shiny-new, state-of-the-art phone, tablet, or any gadget today,  and tomorrow, it’s already obsolete.  So, while you were sleeping, a new feature or model is already being tooled in an unspecified factory in China — waiting to be shipped out to consumers “in just a few more weeks or even days.”

    I had been an Apple/Mac head since the days of the Apple II in the late 70s.  More so when the original 128K Macintosh came out in 1984.  During those days, using them made practical sense (except for the price, of course) since the Mac – with its GUI –  was far superior to DOS-based PCs.  It took Microsoft a couple of years to develop its first GUI – Windows 1.01 or “Presentation Manager.”

    After Windows XP became the global OS standard, the Mac, once again, became the “niche-market” machine – used only by die-hard Apple fans, musicians, video editors, and “me-to-Apple-user-johnny-come-lately“s.

    Our attic is full of odds and ends of old Macs, Apple IIs (Plus, IIe, IIc, and IIGS), PowerBooks, and their accessories — external drives, cables, dot-matrix printers, mice, cameras, scanners, add-on cards, and assorted software and manuals.

    So, after almost 35 years, while tinkering with some of the units in my vintage Mac collection, I can still recall the good old days when they were state-of-the-art during their heydays.   I plan to sell them to new collectors so that I can finance a trip that I had long wanted to do — an overland tour across South America.  Ala-Che Guevarra’s “Motorcycle Diaries.”  Most probably, without the motorcycle.

    Vintage Macs have varying idiosyncrasies:  from the batteries that power the clock and retain the System Settings down to how the keyboard connects to the central CPU unit.  Only the shape or form factor looks similar.

    The original 128K Mac, released in 1984, has a seemingly plain-looking AA battery –1.5V DC.  No, it’s 4.5V.

    The Mac SE used a 3.6V battery in 1/2 AA battery size, while the Mac LC 575 used a 4.5V battery shaped like a cube.  Good luck if you can still purchase these batteries today.  I’ve scoured all the major electronic stores in our area for the 4.5V cubed battery and came up empty-handed.  And, even if you chanced upon them online, be prepared to pay an arm and a leg!

    An Apple Macintosh SE with the cover removed.
    An Apple Macintosh SE with the cover removed.  (Photo credit: Wikipedia)

    Now, let’s talk about diskette drives.  Yes, those electro-mechanical contraptions that gobble up the 3.5″ or the 5.25″ plastic diskettes read the information and pass that to the CPU for processing.  The original Mac was among the first PCs to make the 3.5″ disk format a standard.

    The late Steve Jobs was a big fan of Japanese companies, notably Sony Corp., that, during those days, Macs came with CRTs and disk drives made by Sony.  Even his later venture, NEXT, came up with workstations and servers containing components from Sony, Toshiba, TEAC, Alps, Panasonic, etc.

    Again, the original 1984 Mac came with Sony’s 3.5″ disk drives that read/write single-sided 400K diskettes.  But during that era, most PCs used the 5.25″ diskette format.  To access the PC data, you must use an external Apple 5.25″ diskette drive with a DB-9 port.  And even before Apple came up with the ADB (Apple Desktop Bus), the 1984 Mac had a special connector for the keyboard that looked like a telephone jack.

    My saga that dealt with the various formats and ports in vintage Macs began when I was trying to load the appropriate OS on the Mac SE and the Mac Color Classic onto their respective hard drives.

    While both used 50-pin SCSI drives as storage, they have – you guessed it – different internal diskette drives.  The former has a lower capacity 800K drive.  At the same time, the latter used a 1.44 MB drive (Apple nicknamed it ‘SuperDrive‘ – for its ability to read/write all the various diskette formats during those days).  As expected, Sony made both disk drives.

    English: Internal SuperDrive floppy drive on a...
    English: Internal SuperDrive floppy drive on a Macintosh LC II Español: Unidad interna SuperDrive de un Macintosh LC II (Photo credit: Wikipedia)

    Now, if you don’t have an external SCSI CD-ROM – and the appropriate CDs to load the OSes – you will have to do with loading the OSes via the diskette drives.

    And, where to get those 3.5″,  800K & 1.44 MB diskettes these days is just the beginning of my vintage Mac odyssey.

    Never Send That Bad ASUS Transformer T100TAF to their RMA Department – From Store to the Garbage Bin in 40 Days

    Here’s my review of the overrated ASUS Transformer TA100TAF “2 in 1 PC” that I tried to send to Microsoft Store’s website but was moderated (to hide the ugly truth??? ):

     The title of my review was: ” Warning: The screen cracks easily.

    Bought my unit at the MS Store in SFO 12/11/14 for $199 plus tax during the Christmas sale. I used it about 3-5 times until the unit wouldn’t start on January 20, 2015. It appears to have power issues related to the BIOS, and I called ASUS for support since the MS 30-day return policy expired. Received an RMA# from ASUS because the tech person couldn’t resolve the issue over the phone. I shipped my almost-new unit to ASUS RMA (Milpitas, CA), but they returned the unit to me (nothing was done) since, according to ASUS RMA, they received the unit with a damaged screen & and they attached pictures when they received it damaged. However, there were no pictures on the returned package. Assuming the device was damaged during transit and ASUS was not at fault, it was still covered under the one-year hardware warranty. They could have addressed the non-power-up issue, even with a cracked screen. ASUS did nothing. They returned it – unrepaired or replaced. Note that I had the unit for only 40 days, and it already had power issues.

    My saga with this unit did not end there. I ordered a replacement screen on eBay (about $25) and tried to replace the cracked screen myself. It was during this process that I discovered the screen to be very flimsy. The screen is made of very cheap plastic and not the “Gorilla Glass” variety. Don’t flex the replacement screen (the one I bought also had the “ASUS” logo) or your tablet — not even a bit, as it would definitely crack. Disgusted with how cheap the screen is, I decided to take my loss and dump the entire unit in the garbage bin where it belonged.

    Then I went to the nearest bulk retail store in our area, where they had the Acer Switch 10 on sale, and bought one. That unit has a “Gorilla Glass 3” screen and is well-made, far surpassing the cheap ASUS model I just threw away. Never an ASUS again.”

    In my 38 years of buying tech products, this was a first.  I had used it for only about 15 hours, and it was in my possession for just 40 days before it ended up in the dumpster.

    I threw the unit away because, after replacing the screen with a new one, it cracked again during re-assembly.  The screen is just too flimsy and too brittle.  You will spend a lot of time in the disassembly process, only to go back to the problem’s starting point.

    Also, since ASUS’s RMA Dept. did not even bother to check and fix the non-power-up issues of the unit (which was very much under their 1-year warranty), how can I be sure that I will not have those issues even if I had a brand-new screen?

    Where are the pictures (as proof that they received the product already damaged in their RMA Dept) that ASUS told me in their accompanying letter when they returned the unit to me?

     This blog aims to remind prospective buyers of my experience with the ASUS Transformer TA100TAF, encouraging them to seek something better.

    CONCLUSION: An inferior quality product backed up by extremely lousy customer support.

    EPILOGUE: The author never purchased an ASUS product after this horrendous customer support experience.

    My HP Customer Support “Horror Story” — or, why Amazon.com is the Best in Customer Service

    On May 4, 2013, I purchased via hp.com an HP Pavilion 23xi 23″ IPS LED widescreen monitor for use with my new 2013 Mac mini. The purchase of the monitor was hassle-free. Ordered it online, and I received the order confirmation almost instantaneously.  Bravo!

    Two days later, May 6, 2013, I received the ‘shipping notification’ that the unit had shipped via FedEx together with a tracking number and,  finally,  four days later, May 10, 2013, the monitor arrived at my doorsteps.

    I did not waste time and put the monitor into action. I hooked up the very sleek 23″ monitor to my Mac mini using the HDMI-to-DVI adapter included in the Apple package.

    The HP 23xi monitor has 3 types of video connectors: HDMI, DVI-D, and VGA as well as an external power adapter to compensate for its thin, sleek design and very light overall weight.

    The monitor performed flawlessly until late December 2013 when I noticed that the right portion that spanned about a quarter of the screen’s area, had turned red with a corresponding alteration in resolution in the affected areas although I had been using a predominantly white desktop background.  Not a good sign.

    Cemetery Skeletons Silhouettes
    HP founders must be turning in their graves if they knew how lousy HP Customer Support is these days

    The tech in me did the basic checks: a). Turned it off, waited a few seconds, then turned it back on.  The red tint was still there. b).  Disconnected the power adapter connector at the back, waited a few seconds, reconnected, and then powered it back on.  The red tint was still there.  And, to add more damage, there was a very noticeable ‘image-ghosting’ of a window that I previously opened in the same area where the red tint was. c). I tried the monitor on a different computer – a Windows 7 Pro PC –  that I use side-by-side with the Mac mini but the red tint, altered resolution  & image ghosting had remained.

    Thinking that the problem will eventually go away, I continued using the monitor for a few more weeks.  However, by late January of this year, after I had turned on or woke my Mac mini from its ‘sleep mode’,  the red tint, altered resolution, and ‘image ghosting’ problems persisted on the monitor — exactly in the same areas when I first noticed it.

    After I had verified my invoice that my 23″ monitor is still under HP’s limited, one-year warranty, I decided to purchase an HP  2 Year Next Day Exchange Service for Consumer Monitors” Care Pack on January 27, 2014, through hp.com, so that I can have the replacement as soon as possible.

    HP’s web site specifically mentioned that “while your HP product is still under the original standard warranty,  you can purchase an HP Care Pack to extend the warranty of your HP product for another 1 or 2 more years by purchasing the 2-year or 3-year Care Pack respectively.”

    My HP Customer Support “horror story” began two days after I purchased the 2 Year Service Care Pack.  After I ordered, as with all online merchants, you get an ‘e-mail confirmation’ after your payment had been verified.  A few minutes later after I finalized my order, the confirmation arrives in my e-mail’s inbox: ” HP Direct Orders – Order Confirmation 4xxxxx4.”

    Two days later, on Jan 29, 2014,  I decided to call HP’s Customer Order Support telephone number to ask them about the status of my order.  After I had provided the HP customer support person on the other line with all the details of the order, he told me that “for my HP Care Pack order, there was no physical product.”  And that It just needed to be registered and HP would provide me with a serial number for the Care Pack for the monitor that I was registering the care pack for.

    Huh???  Hello, HP ???  Why did you not inform me about that in the Order Confirmation e-mail???

    Besides, this was not my first time to buy an HP Care Pack for a monitor.  In November 2010,  I purchased a 27″ HP 2710m Widescreen monitor and an HP Care Pack for it but both items arrived at my doorsteps.  There was a booklet with a serial number for the Care Pack.  It was a ‘physical’ item.

    Anyway, the first HP support person I talked to on the phone routed my call to another HP department that was supposed to give a serial number for the Care Pack.  After about 15 to 20 minutes on the phone with yet another HP customer support person and had provided her with all the details of my purchase, our conversation ended like this:

    HP support person: ” So, what’s the serial # of the care pack?”

    Me: ” I don’t have a serial # and that’s the main reason why I was transferred to your department. To get a serial # for the care pack!”

    Total number of cell phone air time I wasted on the calls on Jan. 29 —  about 45 minutes.

    Frustrated, I gave it a rest and decided to call HP Customer Order Support the following day or I might die of emotional distress just for a monitor.  I cooked something good for dinner instead.

    I finished my breakfast early January 30, 2014, and called the same HP Customer Order Support phone again and this time around, I got luckier.

    My initial call that day to HP Customer Order Support lasted about 5 to 6 minutes and I got the serial number for the Care Pack as well as yet another HP Support phone number.

    Now I can register the Care Pack’s serial number with the HP monitor that I was looking forward to getting a replacement.  The day looked very promising. Nice.  Or, so I thought.

    Frustration, confusion, and dismay followed immediately after I placed the next call. I was informed that the Care Pack I purchased was ” from HP’s Small Business Unit” while the monitor I was trying to validate/use it for was purchased from “HP’s Consumer Products Unit.

    What #$%???  Say that again, HP???

    The Care Pack I purchased on Jan. 27, 2014, was HP item # 234473 and the Item Description  on the invoice was ” HP 2 Yr Nbd Exch Consumer Monitor Service Pack.”  

    The keyword is: “Consumer.”  Given that I purchased it online from HP’s Small Business Unit, aren’t all HP’s products the same???  Consumer, Business, Enterprise, whatever, aren’t HP’s item # all the same???   

    Why can’t HP simply validate their damn Care Packs after I had even emailed them the invoice?

    Total number of cell phone air time I wasted on the calls on Jan. 30, 2014 —  about 40 minutes.

    Before frustration and regret become my theme for the day, I thoroughly checked out HP’s various web sites on how to get an immediate replacement for the defective monitor.

    So I tried filling out a form on HP’s  “Technical support after you buy” located under “Email HP”  at http://www.hp.com/go/assistance where you’ll have to choose your location and then enter your HP product number and you’ll be redirected to a page where you’ll need to enter your product’s serial # and product # again to verify the warranty.

    If your product is still under warranty, you’ll be directed to another page where you can put in all the details of the problems of your HP product as well as a bunch of personal information.  Don’t get frustrated if sometimes you get error messages after you clicked the “Submit” button.

    For a company as big as HP and you get a lot of error messages on their numerous web sites, then, something’s really wrong about this company.   They make all those servers and various networking equipments and all those modern technology and yet their web sites can’t even operate properly????  I was so dismayed that HP had gone this low.  

    On the other side of the coin, my frustration with HP’s Customer Support reminded me of why great companies like Amazon.com come to be.

    I had ordered, returned, or exchanged lots and lots of items from Amazon.com since I became a full-time member in 2009  – in early 2012, I opted for their  “Prime” membership – yet I never had used the phone to talk to an Amazon customer service person for any issue about an order.

    Their e-mail system as well as all of their websites are just so reliable and efficient.

    If Amazon.com is very, very efficient and handles customer service almost to a-T yet sells way more products than HP, why is the latter’s customer service so horrible?

    Management is the answer.

    Amazon’s Jeff Bezo’s clearly has the customers in his mind while HP’s management are thinking only about their pockets.

    HP had cycled through six different CEOs in the span of ten years but the company’s downward spiral continues.

    EPILOGUE:  Did I finally get a replacement for my still-under-warranty HP monitor for which I even purchased an HP Care Pack?

    Not yet.  It’s been 6 days since I ordered the HP Care Pack and I’m on day #4 and still trying to sort out the maze of HP’s various 800 numbers just to talk to the correct department.

    Feb. 03, 2014,  I missed answering a call from a so-called, ‘HP Case Manager‘ who sent me an e-mail anyway that informed me that I can reply to his e-mail directly so that he can try to sort out my problems.

    And so I replied to his e-mail three (3) times and attached all pertinent invoices & e-mails to explain my whole confusion & regrets about their entire customer support department.

    He never even bothered to answer any of my e-mails neither did he try to call me again.

    How’s that for customer support from an HP Support case manager, huh???

    The entire process had left me dazed and confused and wondered why I had even bothered to purchase a product made by HP.

    I now got this feeling that when an HP product goes bust while still under warranty, you must brace yourself for the agony and frustration that lurk beyond their entire customer support department.

    By the way, HP is the same company started by Bill Hewlett and David Packard.

    These iconic folks must be turning in their graves  & wondering what happened to their great customer service and support when they were still running the show.

     
    Jan. 2020 update:  
     
    The HP monitor did not last long either.  Sometime in Aug 2019, the unit would sporadically overheat and render it unusable.
     
     
    I replaced it with my old, stand-by monitor (Acer P244w – 24 inch LCD with DVI & VGA ports – no HDMI).
     
    Amazingly, the Acer monitor -which I had purchased all the way back in 2005- not only looks good compared with today’s newer monitors but also works very well.

    WordPress Without 3rd Party ‘Amps’ Installation – No MAMP, No AMPPS, No XAMPP, etc.

    When my Mac Pro server’s HD crashed  – and messed up my Movable Type database in the process – in 2012, I decided to get myself a backup server and that it was also time to take a closer look at WordPress and their claim to the famous “5-Minute Installation.”

    WordPress, Movable Type (then owned by TypePad), Drupal, Blogger & others were at the forefront of the ‘blogging boom’ of the early 2000s. Virtually all were very hard to install & configure on either the PC or Mac platform. I had my luck with Movable Type in mid-2004.

    I had been running Movable Type side-by-side on my main website (Kupitero’s Keep) on my web servers until my Mac Pro crashed in mid-2012 — which prevented me from putting up new blog posts since the database was messed-up real bad.

    English: The logo of the blogging software Wor...
    English: The logo of the blogging software WordPress. Deutsch: WordPress Logo 中文: WordPress Logo (Photo credit: Wikipedia)

    So on my shiny-new Mac Mini (with Intel’s quad-core Core i7 processor & 1TB HDD), I loaded Apple’s new OS,  ‘Mavericks’ (aka 10.9.x). Note that this is just the standard version of Mavericks and not the server version for which Apple wanted me to shell out another $20 via their very lucrative App Store.

    I decided to pass on the server edition &  bought some all-meat Round Table pizza instead to keep me nourished for the hours of coding ahead. I had already enriched Steve and his cronies since he was still alive, and the reviews for the server version were not so good,

    In the standard version of OS X 10.9.x (Mavericks), some of the tools to run your web server and blog are still there:  Apache (the HTTP server), PHP (the scripting language) & FTP (the file transfer protocol). Although in Mavericks, Apple removed the way Apache & FTP were turned on/off easily via the System Preferences (under Sharing).

    You can turn Apache & FTP on/off using the Terminal. This utility has been in Macs since 1984 to access some of the hidden features of the operating system).

    To turn on Apache & FTP, respectively, via the Terminal, issue these commands (after you see the yourcomputername:~ yourusername$ prompt and take note that it might ask you for your password before it executes the command :

    sudo apachectl start

    sudo -s launchctl load -w /System/Library/LaunchDaemons/ftp.plist

    Those commands will enable Apache (to host your web server) and load FTP to allow the file transfer server in Mavericks.

    To run WordPress – as was with Movable Type – under Mavericks (OS X 10.9.x),  you will also need to enable PHP and install MySQL, the popular open-source database.

    PHP is already installed in Mavericks, although you must enable it by uncommenting a line in the httpd.conf file. To do this, launch Terminal again and type the command below at the prompt. Please note that it might ask you for your password.

    sudo nano /etc/apache2/httpd.conf

    Once in the file, use the keys “control” + “W” to search for ‘php,’ and this will lead you directly to the line and uncomment by removing the # before the line:

    LoadModule php5_module libexec/apache2/libphp5.so

    Make sure to ‘Write Out’ (control + o) & save (just press return) & exit (control + x) from the file.  Then restart Apache once again for the change to load:

    sudo apachectl restart

    Now that most of the requirements included in Mavericks are all in place, we need to download and install the MySQL database (use the Mac OS X ver. 10.7 (x86, -64-bit), DMG Archive – this is MySQL version 5.6.15) at:

    http://dev.mysql.com/downloads/mysql

    OK, I’ll end the ‘requirements portion’ of this post and explain the reasons why I decided not to use any third-party application like MAMP (or MAMP Pro), AMMPS, XAMPP, Bitnami, or whatever are available out there if you would like to install WordPress on your Mac.

    The main reason:  These 3rd-party apps are helpful only if you have the WordPress blog as your only website on your personal Mac web server, whether at home, school, or location of choice.

    What if, just like me, you would like to have your main website developed using another application like Sandvox, Goldfish, RapidWeaver, or iWeb? And, have a separate installation of the latest version of WordPress (v 3.8) to complement your main website on the same Mac web server?

    I found out that using the 3rd-party apps made it harder for me to work around the default or alternative port settings and the location of the files for my main website and WordPress. 

    For example, when I was trying out XAMPP,  the choices for locating your ‘Websites’ were either:

    /Applications/XAMPP/htdocs/

    You can access it at http://localhost/

    or,

    Put your Websites in the Sites folder in your Home folder

    And you can access it at http://localhost/~yourusername/

    Sadly, in Mavericks, Apple removed the Sites folder when you go to the Home folder. So you will need to create this Site folder & give root permission.

    And I have been so used to placing my main website files since OS X 10.0.x (aka Cheetah) in this location:

    /Library/Webserver/Documents

    When I tried out MAMP,  the main issue I encountered concerned the Ports needed for Apache & MySQL (defaults are 80 & 3306, respectively, while MAMP put them at 8888 & 8889, respectively).

    I had a hard time sorting their instructions out when I was trying to install & operate,  essentially,  two websites (my primary website and WordPress for my blogs)  on the same web server.

    I tried AMPPS, too. But, just the same, the seemingly ease of use of the application drove me nuts when I was trying to figure out the ports setting & files location within AMPPS, my Mac mini & well, yes, also my router.

    So, in the end, I resorted to the basic knowledge I had when I started using Power Macs to host my website and blogs on my web server in 2004.

    It took me about two days, lots of coffee, soup, ice cream, and patience to get both the main website & WordPress blogs hosted in the Mac mini.

    The Mac Pro Dual Quad Server Crash of 2012

    English: Backside of a Power Mac G5 (left) and...
    English: Backside of a Power Mac G5 (left) and a Mac Pro (right) (Photo credit: Wikipedia)

    We were out when the crash happened.

    There was a brief power outage in our area while we’re away & saw the usual signs:  flashing timer lights in our oven, audio amplifier, coffee maker and the Mac Pro server was off.

    The Power Macs had been hosting my website since 2004 as well as a Movable Type blog that I included in my “Kupitero’s Keep website (as an ‘offsite page’) in late 2004 (I started with MT version 3.121) .

    I started hosting my website in 2004 using a Power Mac G4 (with OS X 10.3.x aka Panther) and upgraded to a Power Mac G5 (running OS X 10.5.x aka Leopard) in late 2006.

    After I had saved enough money, in January 2010, I upgraded to a MacPro Dual Quad since the latest incarnation of OS X during those days – yes, until today – only supported Intel processors.  And, that was the server I was using when the power outage happened.

    I powered the server back on – no problems with the hardware – but the OS just won’t load. Uh-oh, here comes the hard part.

    I worked frantically the rest of the day & managed to load the OS from the Time Machine backup I had.  Great.

    Everything seemed back to normal until I tried to make a new blog post in  Movable Type that fateful day in 2012.  There were errors here and there.  The Movable Type installation was busted and the related MySQL database & PHP scripts were all messed up.

    I was able to restore the database and the Movable Type installation several weeks later but there was still a minor problem with one plug-in: Image::Magick.

    And, that was the day I decided to do the following:

    • Buy a UPS (uninterruptible power supply)
    • Have a backup for the server – I got a Mac Mini (quad-core Intel Core i7)
    • Move my blog from Movable Type to WordPress
    • Revamp my website so that it will be more accessible to the latest and greatest browsers found on phones, tablets, and computers.

    I accomplished all these until early December of this year with the exception of the 3rd one on the list above: porting my blog from MT to WordPress.

    And, that will be my topic for my next post.

    How to Insert Images in Movable Type 4.xx – The Easy Way

    On Valentine’s Day of 2010, immediately after I ported my blogs from Movable Type v. 3.38 to v. 4.33, I made an entry that documented my key observations during the entire transition process.

    Although optional – but it will make your main blog page livelier – one of the most difficult tasks was how to insert an image on the main style sheet.

    I even wrote on that very same blog that I will try to make another entry on how I managed to do it.

    Well, life goes on and people forget but here it is anyway.

    However, after looking back at the entire process, it was really simple.

    The simplicity was emphasized after I re-coded my main website to render it in the HTML5/CSS3 version.

    So, here’s how I did it (note: your MT blog must be up & running already) on my MT 4.xx blog site, so just change the URL, the image size, position & alignment on your own blogs:

    —-start tutorial—-

    • On the server hosting your MT blogs, go to–>mt-static–>support–>themes folder.
    • Depending on your blog theme, you will see the folder of the one you used.  In my case, it was minimalist-light-green
    • Open that theme folder and you find the exact .css file that you’re using.  Again, mine was minimalist-light-green.css.
    • Open that .css file, go to the /* Header————————-*/ section and add these lines:

    #header-content {

    width: 925px;

    margin: 25 px 50px 26px 15px;

    background: url (“enter your website link here“) no-repeat bottom right;

    padding-right: 1px

    padding-left: 0 px

    }

    —-end tutorial—-

    Note that the key entry line is the background: url since it is where your image is to be looked-up by your main style sheet.

    That was easy, wasn’t it?

    The hard part in Movable Type is just in what folder where to look for the right .css file to insert and edit your image since there are so many files and folders after the installation of the software.

    Hope this helps all MT users who like to put up an image within the style sheet !!!

    An Obsession: To Fly a Collective Pitch R/C Helicopter – in 3D

    On February 9 of this year, I bought a remote-controlled micro helicopter, the Syma 107G,  for $17 at a discount store near our house in one of the cities comprising the East Bay of California.

    I had so much fun flying this 7-1/4 inch long toy which I had mastered in just a few minutes.  And this was when my obsession began.  I ventured into aerodynamics, physics, chemistry, and microelectronics.  And countless Google searches.

    To start with, I had a brief fling with R/C back in 1982 when I was a contract worker in Riyadh, Saudi Arabia.  To kill my boredom, I bought the glow-powered Cox Cessna Centurion set, the radio system (made by Sanwa of Japan for Cox), and the maintenance kit, all for about $300.

    Prior experience in my goal to fly a collective pitch R/C heli
    Cox Cessna R/C trainer kit

    I had memorable days flying this molded-foam glider (powered by the Cox 0.049 ORC engine)  in the deserts of Saudi Arabia, especially when the wind was almost at a stand-still during the hottest months.

    Fast-forward to 2004.  The guy I purchased an Apple PowerMac G4 from somewhere in Lodi, CA, just gave me all his truck R/C stuff, including all accessories & transmitters – – for free!

    As a concession to his generous gesture, I bought his still-in-the-box HobbyZone Firebird Commander ready-to-fly (RTF) R/C plane for $30.  He informed me that he only flew it once and crash-landed without damage.  The set also included a brand-new, molded-foam wing – as spare – for this beginner’s R/C glider.

    I played with the R/C truck – powered by a ROAR-approved, 4000Kv brushless motor that ran on Dyna-Sport 1700 mAh NiCd batteries – for a few days with my niece and just got bored with a land-based R/C afterward.

    The beauty of R/C airplanes & helis – let alone flying a kite – as a hobby is that it seems you’re also trying to control your destiny.  Nothing can compare to the feeling you get when you have that plane or heli up in the air and that you’re now using your skills to command it to the direction you want it to go.  It’s simply exhilarating!

    After getting my feet wet again in R/C with the Syma 107G heli, I bought E-Flite’s RTF Blade 450 3D.   The set came with Spektrum’s DX6i transmitter  –  a popular 2.4GHz, 6-channel programmable radio.  It is  compatible with newer R/Cs using six (6) channels or less) – with the glorious thought that I could quickly fly it outside my backyard.

    I was wrong; that was lesson #1:  The Syma 107G is co-axial while the Blade 450 is a collective pitch helicopter.

    A collective pitch heli has a single set (if you consider a pair of blades to make one straight helicopter blade) of non-curved rotor blades.  Changing the blades’ angles by tilting them along the longitudinal axis lifts the heli.  Hence, the altitude is governed by how much pitch you apply to the rotor blades while in flight.

    A co-axial helicopter is the easiest to fly since it has two sets of rotor blades that spin in opposing directions.  Hence, the torque generated by the spinning blades cancels each other out, resulting in a very stable helicopter.

    But, all this type of heli can do is hover up & down, move forward & backward, and forward flight is generally on lower altitudes.  You can’t bank the heli as it makes a turn.

    My attempts – both inside & outside the house to hover my Blade 450 3D a few feet in the air resulted in costly trips to several hobby stores – to replace damaged rotor blades, main gear, and just about all the small parts above the swashplate.

    Frustrated and humbled, I Googled to find out what would be the easiest way to fly a collective pitch heli without having to learn the technical details – I just wanted to get one up in the air & control it!

    I was so wrong again, and this was my lesson #2:  You can’t learn to fly a collective pitch R/C helis unless you’re willing to learn & understand the underlying science and art of the hobby.

    During my continuing education, I also purchased John Salt’s e-book “Setup & Tips For Electric Collective Pitch RC Helicopters.”  I tried as best I could to understand all the new terminologies and jargon in this now getting-to-be-complex-and-expensive hobby.

    So on February 23, I purchased the E-Flite Blade SR (RTF) – there is no BNF (Bind and Fly) version – plus an assortment of extra parts at a HobbyTown branch in Vacaville.

    Learning from my Blade 450-3D fiasco, I also ordered the Phoenix RC Flight Simulator V3 from Amazon to hone my flying skills on a computer screen before I even attempted to hover the new Blade SR.

    Popular among beginners looking for their maiden CP helicopter flight - the Blade SR seems to be the right size
    E-Flite’s Blade SR

    Wrong again, and that was lesson #3:  A simulator can help you learn how to control your transmitter and pilot your model heli.  But, in the real world, no flight simulator can genuinely recreate the environment you’re flying your model R/C.

    And so, just as I had with the Blade 450, my dream of simply hovering a collective pitch with my new Blade SR (which E-Flite touted as “the heli to make your transition to a collective pitch as smooth as possible“) ended with “shattered results” also.

    I broke the wooden 325 mm rotor blades, bell mixer & pushrods and almost broke my right middle finger when I tried to stop the erratic heli while spooling it up.

    Back to the drawing board, I assumed I was trying to fly a big-sized CP heli too fast.

    So, why not try a small collective pitch heli – so I can even try practicing with it inside the comforts of the house?

    And so, on March 3, I went to a discount hobby shop – Low Price Hobbies – in Newark, CA, and purchased the E-Flite Blade mCP X2 (BNF version), plus an assortment of spares for the Blade SR.

    I also bought an aluminum case for my Blade 450 3D.  I knew it would take some time to fly this bird, so I wanted it protected from the elements.

    The Blade mCP X2 is a small collective pitch heli that measures about 9.5 inches in length.  It is also flybarless, so it only weighs about 46 grams.

    The small Blade mCP X2 looks like a good candidate to finally hover a collective pitch R/C heli
    Another R/C heli in the collection – — Blade mCP X2

    A typical collective pitch heli comes with a mix of the Bell & Hiller rotor heads, which has a flybar.  It is oriented 90-degree to the main rotors.   The flybar helps stabilize the heli by changing the pitch angles of the main rotors in gusty wind conditions.

    By removing the flybar and placing all the servos in a single system board,  E-Flite made the mCP X2 very light.

    And so, was I successful in, at least, hovering this ultra-micro collective pitch heli?

    Yes, I was, but the duration of all my attempts never even lasted a full minute.

    It takes a finely tuned transmitter –pitch & throttle curve and all other crucial transmitter settings – plus a very steady hand to deftly guide a CP heli.